Monday 30 July 2012

Some More Polymer Clay Minis for 'Le Forge'

Hello Folks,


How was your weekend? Here in Malta the heat has risen again. So summer is pretty much the same.


'Le Forge' is almost ready and I am starting to take it a bit easy before the baby comes. The last few weeks are very frustrating so I try to keep myself busy by making little miniatures.


Today I will be sharing with you some more polymer clay minis that I did for 'Le Forge'. I really enjoy doing them and I find it very relaxing especially at this moment.


I have done a stool which will be place in the blacksmith's forge, a kettle which has been placed on the oven in the living room area. Then I made some bottles, a back scrub brush, another bar of soap on a tray and my favorite is the shaving set which consist of the badger brush and razor which I have placed them in the sleeping quarters and in the water closet, I think the shaving set is the smallest items that I ever did with polymer clay and for the first they came out perfect


I hope you all like them. Will be posting more progress of 'Le Forge' very soon so make sure you keep tuned.


Take Care and see you soon.


Rebecca xxxx


The Kettle
The Stool
 The Bottles, jars, shaving set and back scrub brush
Stool in Blacksmith's forge
Kettle on oven in the living room area
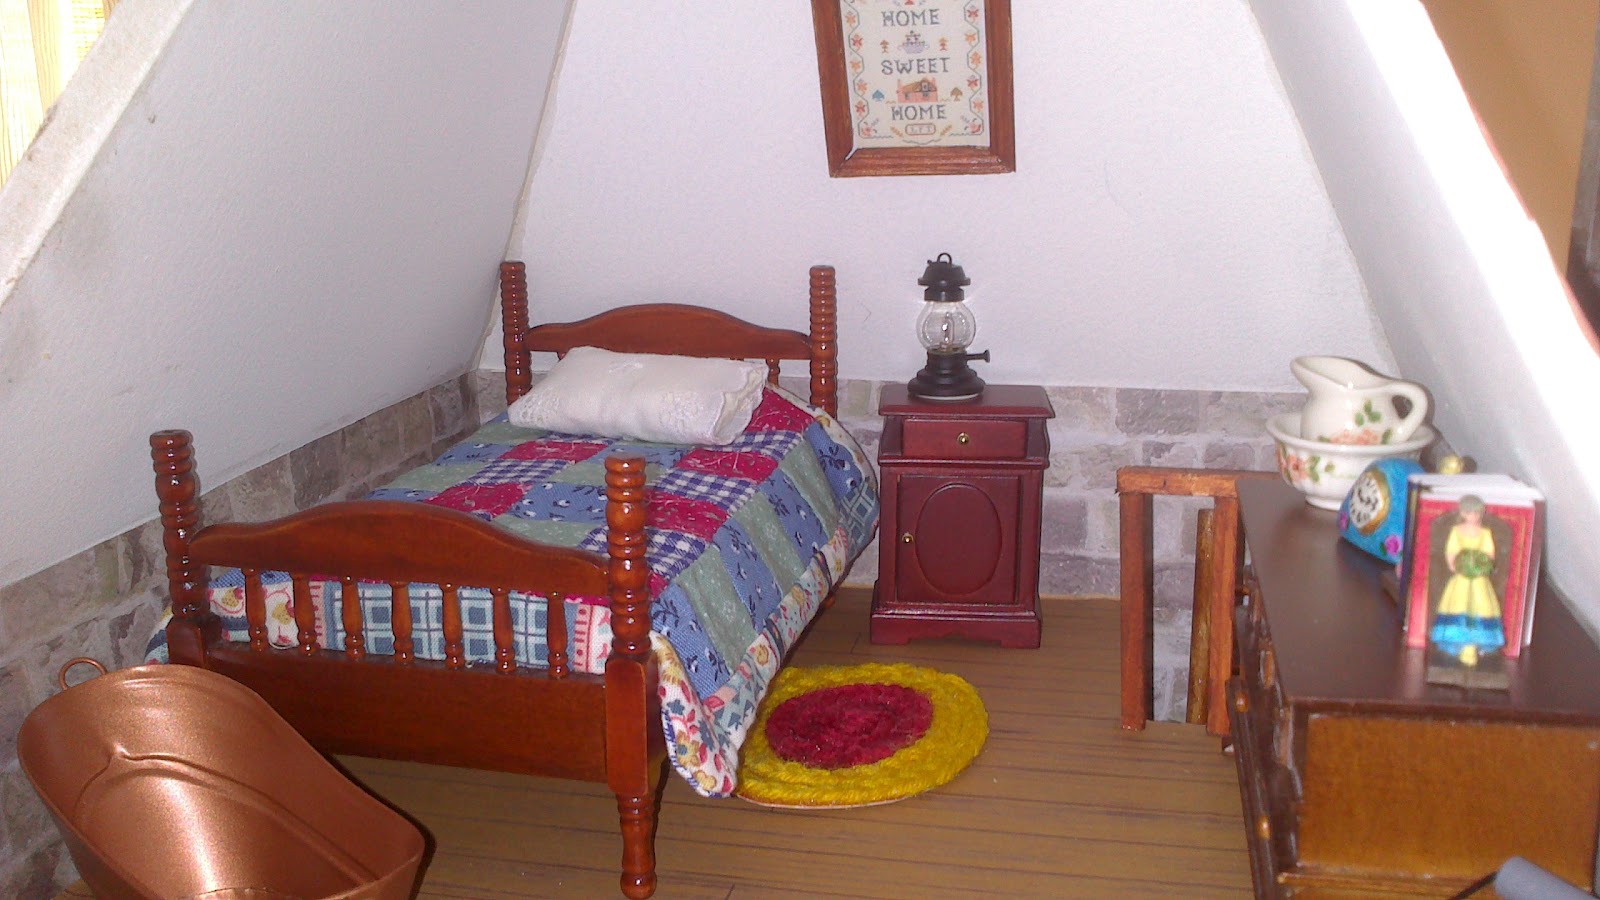
Some bottles and the back scrub brush in the sleeping quarters

Some more bottles, shaving set and the bar of soap in the Water Closet

Thursday 26 July 2012

Le Forge - Sleeping Quarters!

Hello everyone!


Hope that you are all fine.  I have been quite busy this week and the heat is pretty much the same. I am slowing down a bit as only six weeks to go before baby comes.


Today I will be sharing with you the top floor room of 'Le Forge' which is the Sleeping quarters.  I have added the wooden ceiling beams and have made a wooden  rail next to the opening of the floor from where the ladder is resting. 


It is a very small room with slanting walls and you can't do much.


Like you all know the bedding, curtains, carpet, the framed picture have been done by me. Probably I will still be adding some more accessories but so far this is how it's looking.


I hope you all like it.


Keep tuned for more in the next couple of days.


Take Care and see you soon.


Rebecca xxx


The Sleeping Quarters in Le Forge


The wooden ceiling Beams 


The Curtains 

Monday 23 July 2012

Hand Painted Miniatures for 'Le Forge'

Hello folks,

I hope you have all enjoyed your weekend. Mine was pretty much the same. Today here in Malta we actually had some rain!!!!! Yes rain! Well actually it just drizzled. The minute the rain touched the ground it just dried up but I'm just glad that the temperature went down. It is still pretty hot but it will do.

Today I will be sharing with you some hand painted miniatures that my wonderful father has painted for me. I have gotten these metal unpainted accessories for my forge which are a pipe stand with 3 pipes, a wheel and two bookends.  
Unpainted metal accessories
Well like the saying says 'Like father, like son' only that in this case 'Like father, like daughter'. Since being a young lad, my father always enjoyed building these AirFix type models. He used to love building and painting war planes, ships, tanks and soldiers. It is still one of his favorite hobbies. The detail that he adds to them are amazing and very realistic. Knowing that he will do a fantastic job with them, I left them in his capable hands.

After a few days he gave them to me and I was just thrilled. My favorite are the bookends. A lot of detail was added to them with bright colors. I will definitely be getting some more for him to paint for me. I just love adding small little miniatures to my dolls houses which have a sentimental value. These will definitely be treasured forever especially knowing that my father painted them just for me. 

The Miniatures after being painted by my father
The Bookends are my favorite.

The black metal wheel will go in The forge, The pipe stand and pipes are going in the living area and the bookends are going in the sleeping quarters of Le Forge. 

The Pipe stand with pipes in the Living Area of 'Le Forge'

The Wheel is hanging in The Forge.

The Book Ends are already holing a set of books in the Sleeping quarters of Le Forge.
I hope you all like them. I will be posting very soon with the latest updates of Le Forge so please keep tuned.

Take Care and see you soon.

Rebecca xxx

Saturday 21 July 2012

What I Love About My Dolls House Hobby Competition!

Hello everyone. 

I all hope you are enjoying your weekend.

I have some good news which came to me as a surprise!

Later in April I had entered in a Dolls House Emporium Competition called 'What I love about my dolls house hobby'. I wasn't sure if I should participate or not. The entry was to send a favorite photo, video and a short paragraph what you love about your hobby.

So I did a video with my dolls houses, Sent my favorite photo and did the paragraph. I didn't hear about the competition and so I gave up on it. Yesterday I received an email stating that I was one of the winners for this competition winning £200 worth of Dolls House Emporium goodies.  

The Dolls House Emporium also mentioned it on their blog and there you can see the video. Here's the link: http://www.dollshouseblog.com/2012/07/20/what-i-love-about-my-dolls-house-hobby/

I was really happy and I really want to thank the Dolls House Emporium for their effort and great services they provide. 

My favorite photo is actually the photo of myself back in 1983 when I was only 4 years old. It was Christmas day and I was opening my first dolls house which I still have. Obviously now my children play with it under mummy's observation.

Christmas day 1983 opening my first dolls house
 You can see that I was mesmerized by this dolls house that I didn't even bother with the other presents.  A big Thank you to my parents for starting off my love for dolls houses. At that time I believed that Santa got me the dolls house. Gilbert my husband wasn't that thrilled that I won the competition. For him that only meant one thing! 'More dolls houses and more stuff! for me." 

Please keep tuned as I will be giving you an update very soon on my latest project 'Le Forge'

Take Care and see you soon.

Rebecca xxx

Monday 16 July 2012

Le Forge - More Exterior Works

Hello everyone,

I hope you all enjoyed your weekend. 

Last week I have worked some more on my latest project 'Le Forge'. I am just hoping that I will finish it by the end of this month so I can spend the month of August preparing the last errands and shores before baby arrives.

I have worked on the exterior of 'Le Forge'. I have finally added the handrail to the outdoor stair case with a thin strip of wood.

Hand rail of the out door stair case

As I have fitted in the heart and the smoke hod for the black smith's forge and also added a stove in the living room area, I made sure that these pieces where fitted on top of each other and by the same wall so I could add a chimney breast and the chimney outside. I have made them out of balsa wood as the kit itself came without them. 

The Chimney Breast 

Outside Le Forge

For this property I didn't use the normal electrical lighting strip which is very easy to set to any dolls house. I had to use copper tape wiring for this building due to the fact that I wanted to make a back garden. Gilbert my husband did a fantastic job with the copper tape installation. There was no way he was going to let me use a soldering iron. He's very protective. It took him around two hours to complete but every light was lit without and problems. I was so trilled to see it all lit. Love him to bits!

Gilbert's fantastic job! The lighting installation with copper tape

All the lights lit up!

Finally  I have also started some work on my back garden. I added the walls at the back and wall papered them. At the back garden wall I added a false arch with a garden picture to make it look like that the garden itself is much bigger. This garden can be seen mostly from the back arch of the blacksmith's forge. At least this room will have some color added to it. I still have to add some more lights and garden accessories to the whole garden but I guess the major work has been done. 

The back Arch leading to the garden from the black smith's forge

The Garden's back walls the false garden arch and picture

The back garden picture taken from the top

The Back Garden can be seen from the blacksmith's forge.

The garden arch from The Forge


The Garden from the forge without the back gate


The major work is completed. Now the fun part continues decorating with accessories!

Keep tuned.

Take Care

Rebecca xxx

Friday 13 July 2012

Filled Glass Jars with Polymer Clay minis

Hello everyone.


I really hope that you are enjoying your summer. Here in Malta we are having a terrible heat wave. I just hope that it gets a bit cooler by Monday.


Anyway. I have realized that one of my shelves in the living room area of  'Le Forge' was empty. I had a couple of empty glass jars so I decided to give it a try and fill them up with polymer clay minis. Well to be honest with you I am not fully happy but being the first I think I did pretty well 


I have done a jar full of sliced olives, another one with chili red peppers, another one with long green string beans and the last one with pickled eggs. I think I am just not happy with the chili red peppered jar. I had used deco jell and there where some air bubbles. I guess you learn from your own mistakes. I am pretty sure that next time I will do better. 


I have also decorated the two big jars and placed them in 'Le Forge'. I still got the results that I wanted.


Hope you like them too.


Keep tuned for more of my progress on this project.


Take Care and see you soon.


Rebecca xxxx

My first four filled glass jars with polymer clay


The Jars on the shelf


Tuesday 10 July 2012

Le Forge - The Living Room Area

Hello everyone,

Hope you are all well. I want to thank you  for the encouraging comments. They always make me smile. I also want to welcome my new 3 followers of this blog Marisa, Faby and Debbie. 

Today I will be sharing with you some interior works that I did in the living room area of 'Le Forge'

The Living Room Area
Firstly I started with the wall papering and the flooring. I used stone effect paper for the walls and wood paper for the floor. Then I built the stove surround  and used tiled wall paper for it's insert and floor tiled paper where the stove would be standing.  I also made the little shelve for the surround.

Then I did the wooden ceiling beams and ladder that leads to the sleeping quarters. I also built the small green table that is set in the middle of the room as I couldn't find one that fitted in perfectly.
Then came the fun part - decorating the room. I have fitted in all the little pieces that I made myself with polymer clay. I also added some accessories which obviously I didn't do.

I have printed a small news paper for the table and have made the dish cloth which is set on sink and the curtains for the windows.

I still have to add more accessories to the room but so far I am very happy with it. 

Here are some pictures of the setting of room. Hope you all like it.

Keep tuned as I will be sharing with you more of my progress on this project.

Take Care,

Rebecca xxx


The stove surround with shelve

The table setting

The whole room


The Curtains for the room