

Hello folks,
I hope you are all enjoying your weekend. It has been a while since my last post. I will be updating you very soon with my new project.
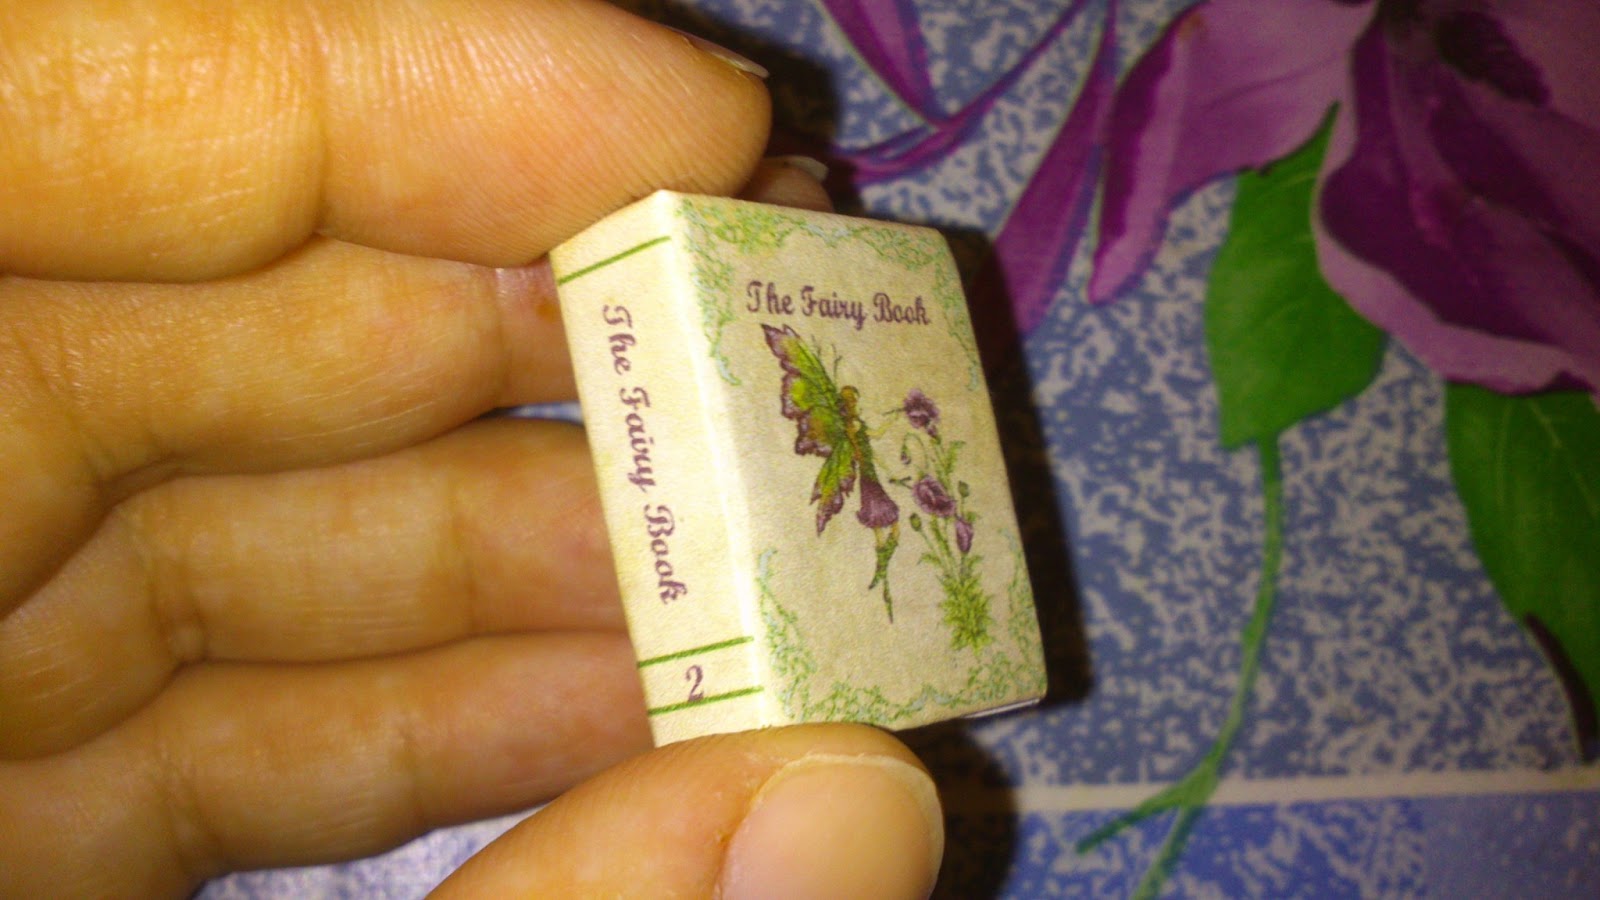
After the great success that I had with 'The Book of Fairytale Spells' I have made another book called 'The Fairy Book' In this book you find a whole collection of different fairies from all over the world with full color pictures and information. The book contains over 40 pages.
 |
| The Fairy Book |
To make this book you need:

1. To print the two book sheets by
pressing on this link The Fairy Book download sheets
2. Card board (even from a cereal
box)
3. Masking tape
4. Glue stick
5. Scissors
6. A small piece of bronze ribbon
(approx 3 mm wide)
Step
1

After printing your fairy book
sheets, cut out the book cover and the book cover templates from a piece of card board.
Step 2

Using your glue stick, stick the cardboard templates close together inside the book cover. Make sure that the templates fit in the book cover. Then bend and stick the book flaps inside the book cover.

Your book cover will look like this.
Step 3

Cut out the 4 strips of book pages and
fold them.

Glue the ends of the first strip with the beginning of the
second, third and the forth strip. After this step you will notice that you have the pair of floral green inner cover pages at the end of the now long strip. Make sure that each page
has been folded evenly. The pages are alphabetic order so you won't mix them up. Then you can glue the back of each folded page. Press
the folds tightly as much as possible.

Step 4

Cut out a small piece of masking tape
and place it over the spine of the pages. This will help to keep the pages
tight together and it will be easier for you to stick the pages to the cover.
Also before adding the masking tape you can add the piece of ribbon at the
spine of the book from the top part. This will be the book mark of the book.
Step 5

Use the glue stick to glue the inner green cover pages to the inside of the book cover. Make sure that the pages are
lined in properly with the cover. Sometimes it is even better to position the
pages with the book closed.
Step
6

Find the center pages and position
the book mark in the center. Cut out the extra length of the ribbon at an
angle. And finally this is how your book would look like.


I hope that you will find the
tutorial helpful. Also please note that this book can only be made for personal use.
If you have any difficulties or would
like to ask questions about how to make this book please don't hesitate to
email me.
This book is the second of my collection. and as I will be making more books, the books on the spine will be numbered too.
 |
| These are the two books that I have made so far. To make The Book of Fairytale Spells go to this link The Book of Fairytale Spells |
 |
| The numbered books. |
Keep tuned as very soon I will be sharing with you my new project.
Take care and see you soon.
Hugs,
Rebecca xxx


