Saturday 31 October 2015

Halloween Lantern - Miniature Project

Hello friends,

Halloween! So spooky night it is! This means that this will be the last post for the month of October. It is not one of my favorites but it does bring sweet memories of my childhood when I used to go trick or treating. My first years of my upbringing was in Canada and Halloween was and still is very popular. I enjoyed visiting the neighbor hood for yummy goodies. In Malta it is still very new so today I carved the pumpkin in a Jack O lantern. The kids love it.


Halloween Lantern
After that I decided to make a little Halloween Miniature Scene. I  never thought of actually making one before but I had found the little lantern and thought that it would look just perfect to make a spooky project.


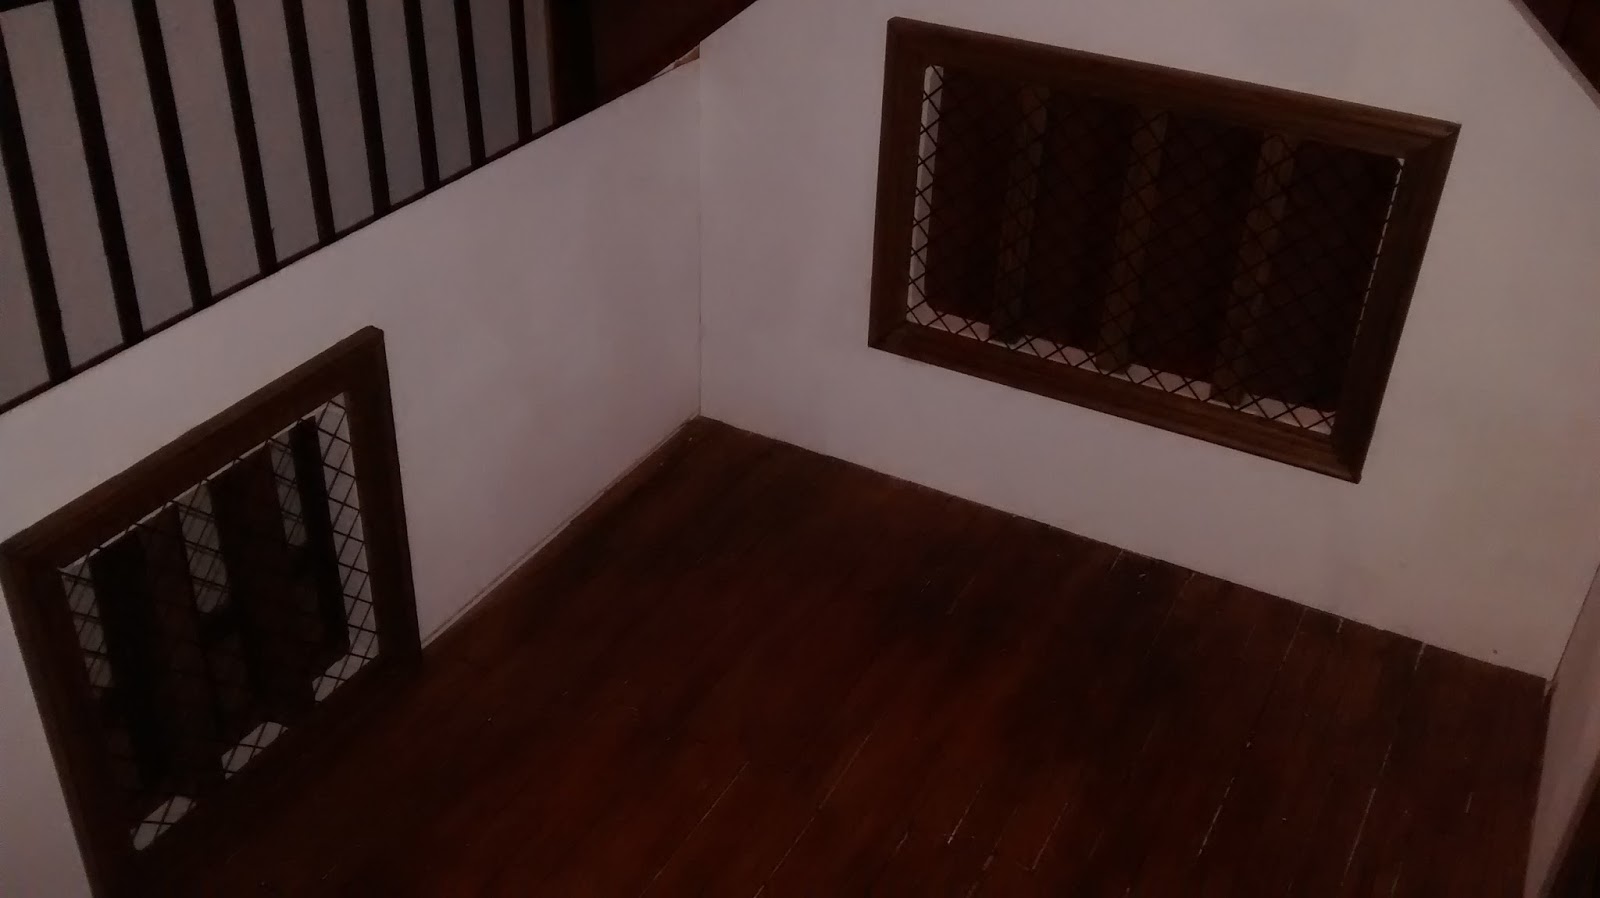
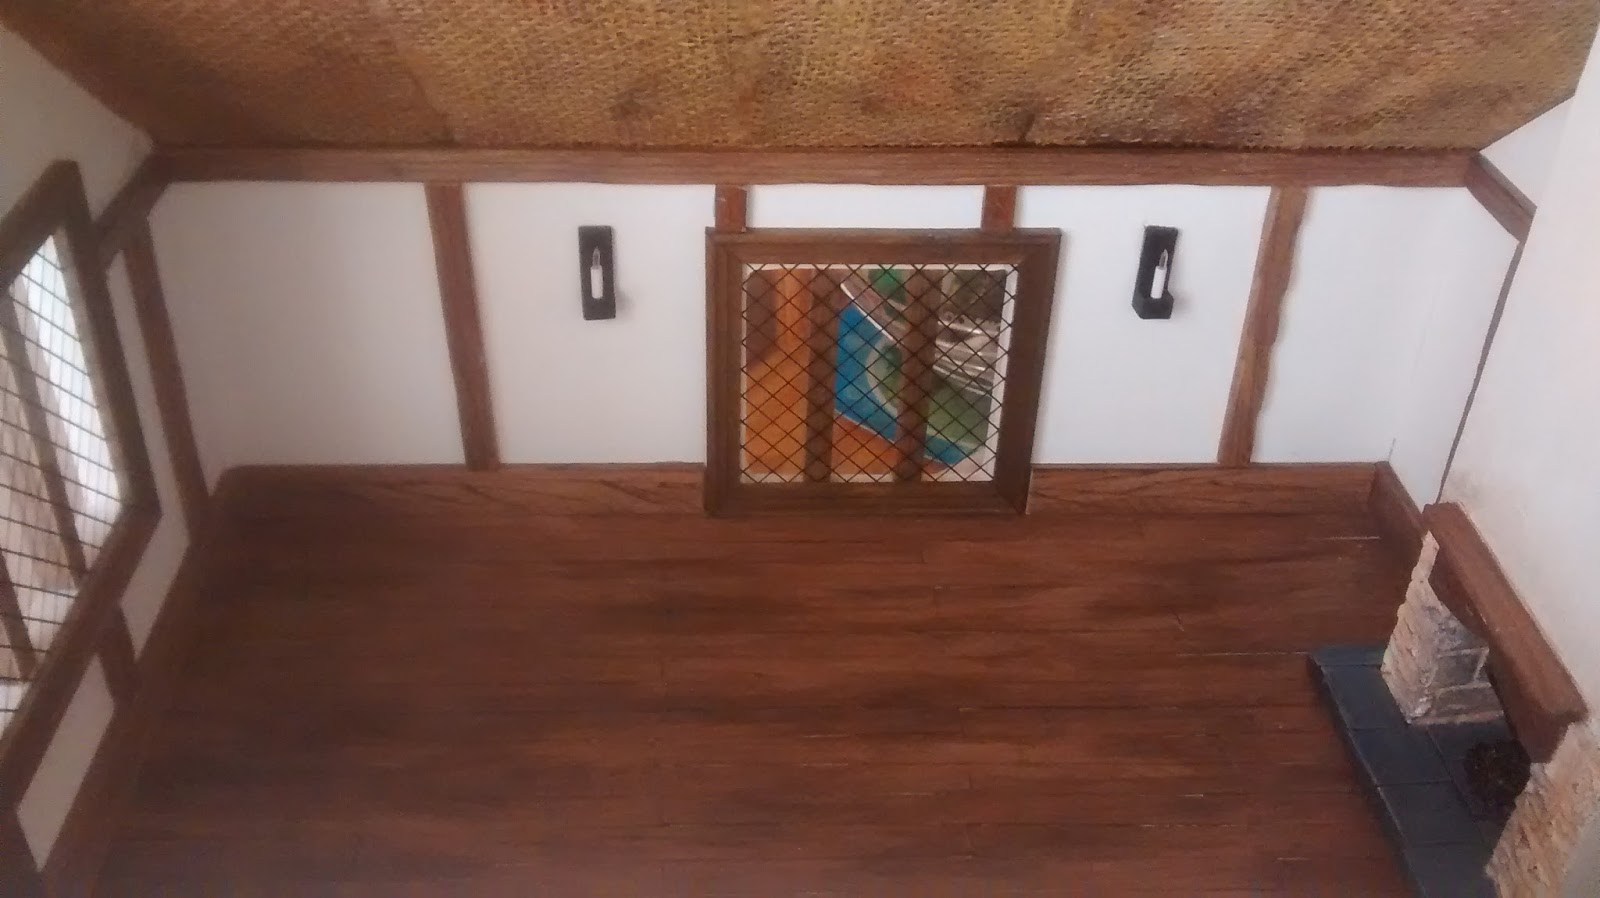
I started by covering the metal T light candle holder and set it up as a small table. I used orange cardboard and printed a Halloween pattern to make a table cloth. Then I cut out a piece of black cardboard to cover the floor for the scene.


Table for the setting

I got myself some copper wire that I had and made some spooky style trees. I covered the copper wire in floral tape.


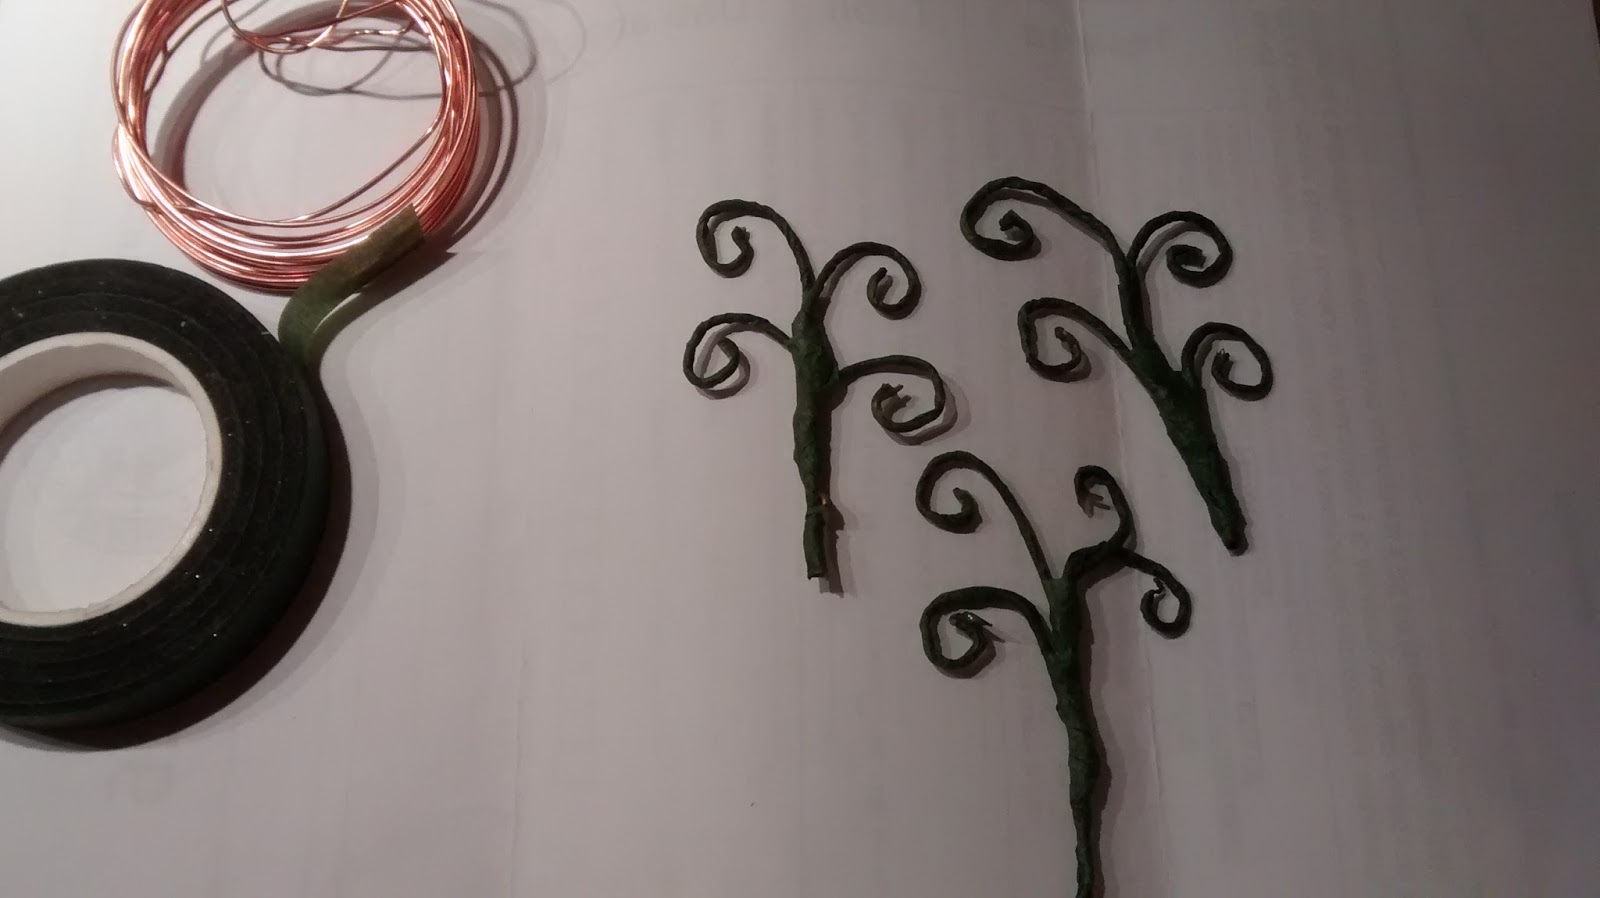
I made three of these trees and painted them in a very dark brown. I set them up against the window sill and glued them to the flooring. Then I added some cobwebs which I made out of the quilting fabric and printed out some bats that I cut out and stuck around the trees.


Adding the trees, bats and cobwebs

After that it was time to add some miniatures and so my polymer clay was out of the box. I made some pumpkins, a skull, a cauldron full of sweets, a baby dragon, a spider cake, some spooky cupcakes and a pumpkin tea pot and cup.

Spider cake and cupcakes

Pumpkin tea pot and cup with candles

baby dragon and cauldron full of sweets

A stack of carved pumpkins

A skull
Like always not all miniatures fitted in the scene as it was quite a tight space but I am just pleased how it looked.


I still thought that there was something missing to the scene so I added a small rice bulb on top to light it and it was just perfect. I couldn't believe that it could come out so well.


The Lit Halloween scene


So tonight I am enjoying seeing this little lantern all lit up. This proves that you can use anything to create a miniature scene. In the past few weeks I was also busy making Halloween Miniature Ceramics which you find available at My Miniature World Shop at Etsy


So this is all for today folks. I hope you are enjoying your Halloween. Next time we will be meeting there will be an update on Kate's Cottage and it's progress so make sure to keep tuned.


Happy Halloween to All 
and to All a Fright Night!

Take Care and See you soon.

Hugs,

Rebecca xxx

Sunday 25 October 2015

Making some miniatures for Kate's Cottage

Hello everyone,

So how are you all? It has been a few weeks since I posted. I hope you are enjoying your weekend. It has been quite tough here. Last week I got the nasty flu that I got from the kids. It is to be expected once they go back to school. Then this week my husband Gilbert had to be operated on. He had a hernia repair. It is not a big operation but the recovery is quite painful.

I wanted to welcome three new followers of my blog; Welcome Lucille Turpin, Ultimate Kick and Lori. WELCOME!

Today I will be sharing with you some polymer clay miniatures that I have been making for Kate's Cottage. There is so much that I still need to do and make for this cottage.


Making miniatures for Kate's cottage
Like you have seen in the previous post I have made 2 fire backs for the fire place. I am really pleased with the out come. As the fire place on the ground floor has a fire spit, I wanted to add some sort of fire crane for the little cauldron. The fire place is too little so I had to improvise. I managed to make one of polymer clay where you will see a cauldron hanging from it.

Crane in the fire place
Tudor food can be some how tricky or let's say I don't know much about it. So through book and a few tutorials I managed to do these.

Here is some the cottage loaf and some bread rolls as starters. 


Cottage bread and rolls

Cottage bread

bread rolls


I have also made some Tudor Jumbles which where like pastries at that time. I have made three types of jumbles which are the plaited, rings and knots.


Tudor Jumbles
The most common is the mutton and vegetable pottage which was commonly stewed in a cauldron and served on trenchers, the trenchers where usually made out of wood with a hollow center and had also a small salt hole by the side. This vegetable stew was likely to be served with bread. For desert they would have pears in wine syrup. In Tudor times forks where not invented so wood spoons and knives where used in the period.

Here is the mutton and vegetable pottage in the cauldron. I have used polymer clay and resin water. I have added soapy bubbles to the cauldron to make it look like it is boiling.


Cauldron with vegetable pottage
 Then with the same mixture I filled a pewter serving bowl and made the trenchers filled with the food, spoons and knives out of polymer clay.


Served pottage on trenchers.
I also made a bowl full of the pears with wine syrup.


Pears in wine syrup

There is still so much I need to add and make. I wanted something a bit different from usual. I have actually made something which was totally not my favorite but definitely a must for the Tudor period. To make it all too clear I do love animals and I just can't imagine myself harming them but then again I am no vegan or vegetarian. 

I have made the wild rabbit food preparation. You can see that it is no longer alive after being hunted and well gutted. Very gruesome indeed. You would probably say that, this is not the method of cleaning or skinning a rabbit. You would say first skin it then gut it. You are right but in the Tudor period it was different.

Like we all know there was no such thing as a fridge to keep the food from going rotten, so once the rabbit was caught and slaughtered, the hunter would clean it (gut it ) so the rabbit won't get spoiled but they wouldn't skin it immediately. They used to believe that the skin would preserve the meat from going bad so the skin was usually removed just before cooking. So here is the wild rabbit. Poor thing I feel sorry for it.

Rabbit - Food preparation
 I also made a bowl of quail eggs which were very common in the Tudor times. Quail eggs are much smaller than the normal chicken eggs and so I had to make these much smaller and tiny.


Quail eggs
So far this is how all my new hand made miniatures look like in the room. I might be changing their place in the future as I will be adding more.


Hope you like what I have done so far.

This is all for today. At the moment I am busy working on the outside of the building so keep tuned for more updates in the next few days.

Take care and see you all real soon.

Hugs,

Rebecca xx


Saturday 10 October 2015

More progress on Kate's Cottage

Hello everyone,

Hope you are all enjoying your weekend. Here in Malta we have been having some rain showers but nothing out of this world. I have been very busy with Kate's cottage and I am really excited how it is turning out.

Kate's cottage top floor
Give Away Winners
So today we will be announcing our two winners of our free give away. They will both be getting the miniature mug & plate and key ring. We hag quite a lot of followers signing up. I wish that all could have them. So our winners are Julie Daves and Jessica Boulton. Please send me an email with your details so I could post them. Don't give up everyone we will be having a free give away very soon. Thank you all for taking part this encourages me to make these little treats more frequently. 

This week we have also reached over 11,000 followers on our Face Book page. Thank you so much. 

We come back to Kate's Cottage. I have been really working hard and I am giving my best to make it as realistic as possible. As the ground floor is pretty much done. I have started on the upper floor which will be Catherine's and Luke's bedroom. It is quite a spacious room  I started off with the flooring. I went for wood strips. I have cut them and fixed it on the flooring. I have left uneven gaps to make the floor look roughly made being in the Tudor's and not finished in high standards

Flooring.
When that was done, using a needle point tool I have made several holes in the edging of the floor boards to give the impression that nails are fitted in. 

Making small holes in floor board edges
When that was all done I stained the floor and darkened some areas with brown paint just to give it a more weathered look.

Stained floor
Before I continued with the beam work I realized that this room didn't have a fire place. So right on top of the fire place below I have made a chimney breast. It just didn't make sens that this room didn't get one, as just above it on the roof there are the chimney pots. It seemed like between the chimney pots and the fire breast below was something missing. 

So I got myself a thick piece of balsa wood and made the chimney breast for the bedroom. I have used a stencil to make the edges and added some wood to make the mantel. Using cardboard brick slips I did the back of it, dirtied it. As the flooring was made out of wood I had to make the floor heart out of bricks. 

Chimney breast


Once the chimney was settled I finished of the inside of the windows. Without having these ready there was no way I could make the inside wall beams. 

Adding the windows
When that was ready I started working on the wall beams. I have weathered the wood beams with a craft's knife and with a needle point tool. My finger tips were quite numb,  Slowly I started adding the beams. First the floor skirting and continued till the tip of the walls.

Wall beams


When I was satisfied with the beams I added the wall lights for the room and I also made the fire back for the fire place which you will find the Fireback Tutorial on this link ,

Polymer Clay fireback


And this is how the room looks like at the moment. 


So this is all for today. Please keep tuned for more updates on Kate' Cottage. I hope Catherine and Luke will like it. 

Enjoy your weekend and take care.

Hugs,

Rebecca xxx