

Hello my dear friends,
I can't believe that we have started September and with this month we start the new project. September is not a month that I love, it brings with it lots of anxiety especially knowing that the kids will start school. The weather hasn't changed at all but we are waiting for a storm next week.
So today I will be sharing with you the beginning of my new dolls house project called Kate's Cottage. It is one of those Dolls House Emporium kits that I have stashed a couple of years ago. It is another discontinued house and I am very lucky to own one. It is only a two room house but has lovely unusual features with lots of bits and pieces.
 |
| Kit pieces |
Even with my experience through out all these years of building dolls houses, I am very very nervous with this one. It is my very first Tudor Dolls House that I ever started. I had gone all over the histories and done lots of research. I had wanted to start it for quite some time but each time I try to bring it out I get cold feet. When I was sure that I could swim in the unknown waters I took the plunge to give it a try.
I have realized that with this house it was not something that I could first build, paint, finish the outside and decorate the inside like I do with all my projects. This needed a little bit of thought. I started with a dry built to see that everything fitted in and to have a better idea of how to go around it.
 |
| Kate's Cottage |

 |
| Ground floor |
 |
| Top Floor |
I started by painting the side walls and flooring.
 |
| Painting the walls |
Being a small primitive Tudor house I went for real flag stone floors for the ground floor. They were quite simple to do and the pattern just came out alone.
 |
| Gluing the flag stones |
When the real flag stones were done I grouted the flooring.
 |
| Grouting the ground floor |
The grouting was fun to do and when it was all done and dried it looked even better.
 |
| Grouted flag stone floor |
When the floor was done I started working on the main fire place. I distressed the mantel piece and stained it. I have bricked the back walls and the inside of the fire place with brick slips. Using black pastel color I have darkened the bricks to give it a used touch. I have bricked slightly the front of the fire surround by using a brick stencil, to give it a more realistic touch and distressed it with brown paint.
 |
| Distressing the fire surround |
I was so surprised when I have placed it in the room. I couldn't imagine it looking any better.
 |
| Fire place |

 |
| Fire place with completed flag stone floor. |
After that was done. I stained the stair case that winds up behind the fire place chimney.
 |
| Stair case behind the fire place |
When that was done then I started distressing the front door and some inside beams. I got some wood strips from a DIY shop in different thicknesses for the inside beam work.
To distress the wood I used a needle tool and crafts knife and then I stained them.
 |
| Distressing the wood of the outside door |
When that was all done, I started the ceiling beam work which took me a few hours to complete with lots of cutting and measuring but I was trilled to see it all done.
 |
| Ceiling beams |

I have also made some skirting and also started some beam work on the walls. The walls aren't completed yet but now I have a good idea how it all looks like. Once I place the hinges for the front panel then I can continue with the wall beams.
 |
| Wall Beams |


And this is how the room look like so far.
 |
| The first room |
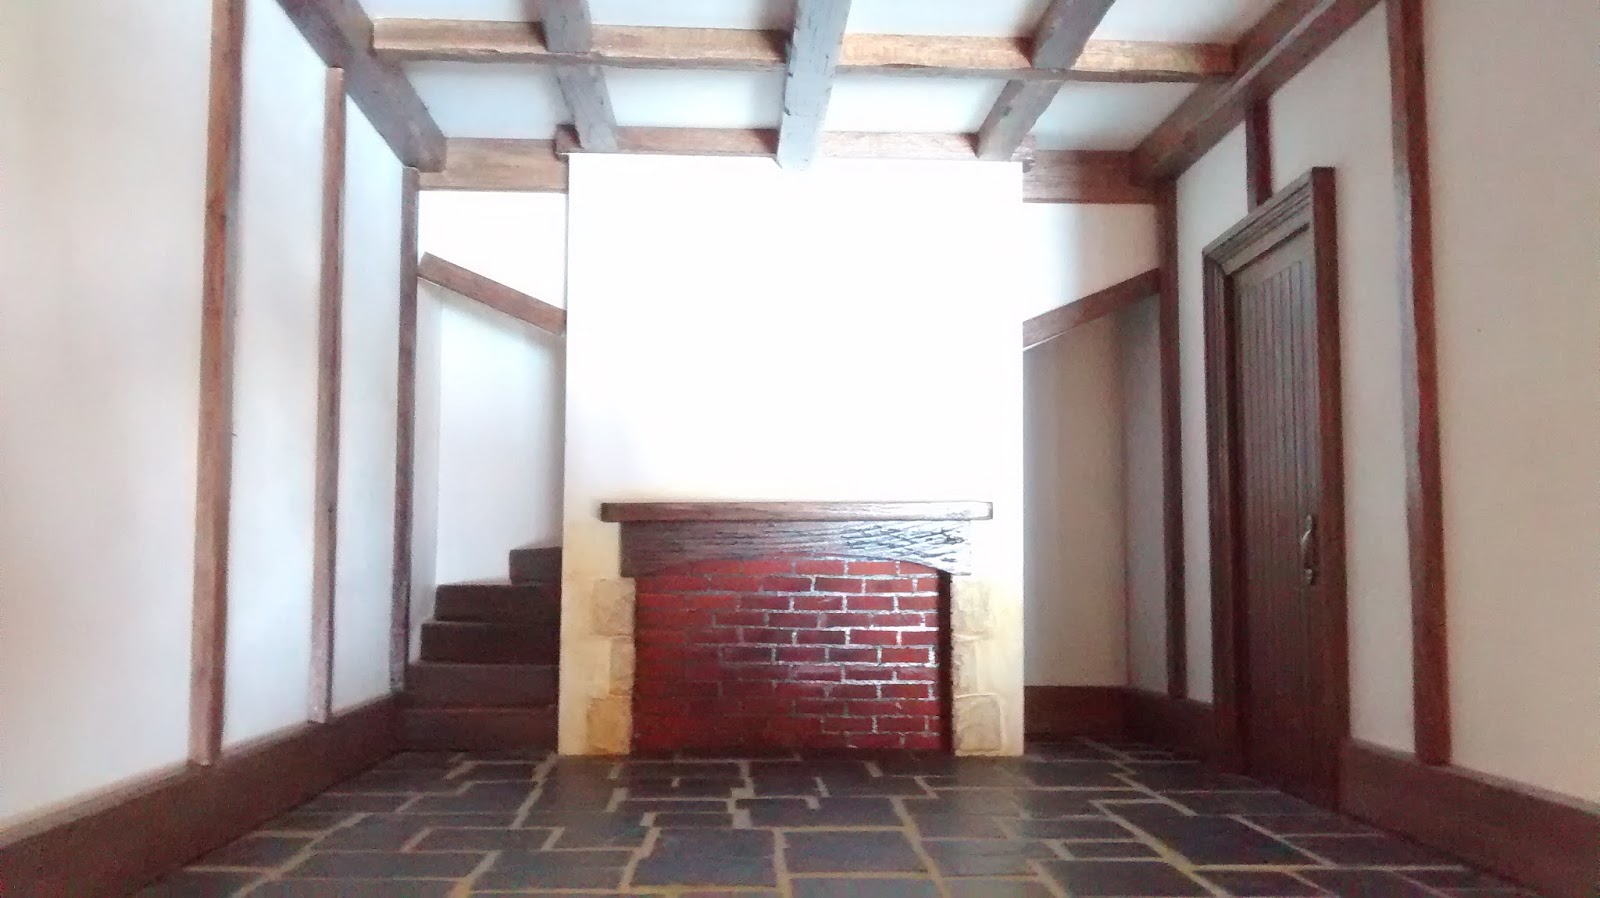
There is still so much that I still need to do and add but I love how it looks. Being the first I think I did quite a good job.
I hope you like what I have done so far. Next time we will meet I think I can start working a little on the outside of the house. So keep tuned for more update's on Kate's Cottage.
Take Care and See you soon.
Hugs,
Rebecca xxx
I have never seen this house before. You are off for a good start. I like how the stairs go around.
ReplyDeleteThank you so much Marie. Yes it is one of the old houses DHE had.
DeleteI used to have this house, I enjoyed decorating and furnishing it in Tudor style as I usually do modern style houses.
ReplyDeleteThank you so much, This is my first Tudor style project that I am working on so I am excited about it.
DeleteIt's fantastic! I like how the stairs go around.
ReplyDeleteThank you so much Faby. The stairs are quite my favourite XXX.
DeleteYou seem to me to get so much done in so little time! Great workmanship.
ReplyDeleteThank you Mary for your mind words. I wish I worked faster xxx
Delete