Showing posts with label Sea shells. Show all posts

Friday, 13 May 2022

Little Linda with her Baby Piano

 Hello Everyone, 

How are you all? Hope you are well and that you are looking forward to the weekend. Like always I have been quite busy preparing for the new project but in the mean time I am enjoying making a few miniatures. 

Sweet Linda is enjoying living in the Summer house 'Sea Shells' and from what I could understand she would love to become a pianist. As she is still very young, I decided to make her a vintage style baby piano. 


She totally loved it, and she is spending her days playing the little piano.

The Vintage 1960's Wooden Baby Piano has inspired me to do this piano. I remember as a child, I had one of my own.


I have to say I am very happy with the outcome of my own miniature version. 


Here are some more photos of the toy Baby Piano that I made. 


I hope you like the version of my miniature Baby Piano. This is all for today, keep tuned for the next updates. 

Take Care and See You Soon.

Hugs,


Rebecca xxx


Thursday, 24 February 2022

New Residents at The Summer House

 Hello Everyone,

How are you all? Hope you are having a great week. As you all know more residents are being added to My Miniature World.

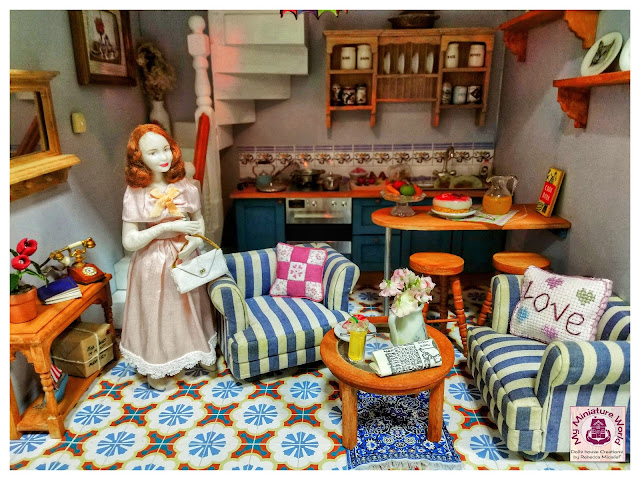
Today we will be visiting Sea Shells the Summer House. It was my second dolls house and first kit that I built. I totally loved the little house. 

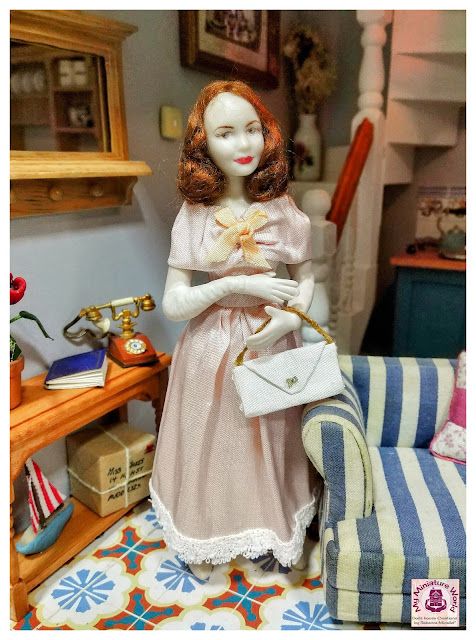
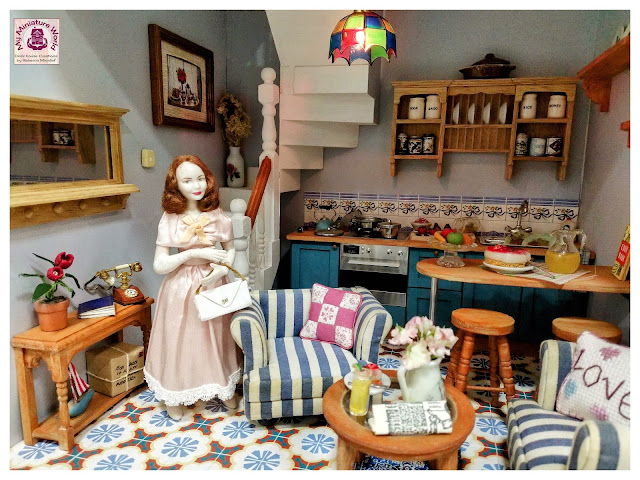
Now we have Nancy with a 60's style outfit in the living room area.  She is very pretty. 


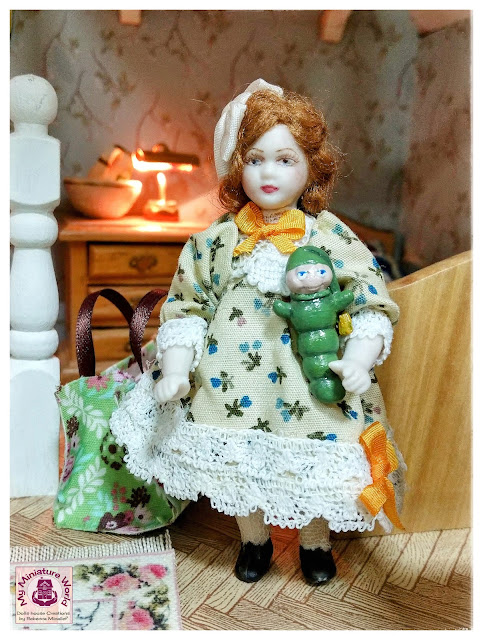
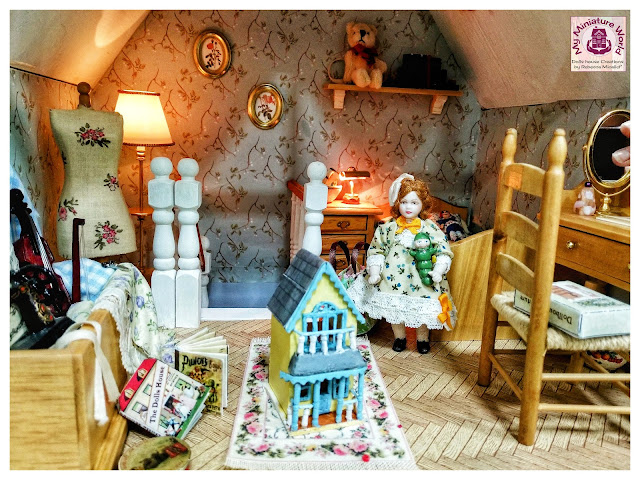
On the first floor you will find the cute little girl Linda in her happy place amongst the things that she loves. 


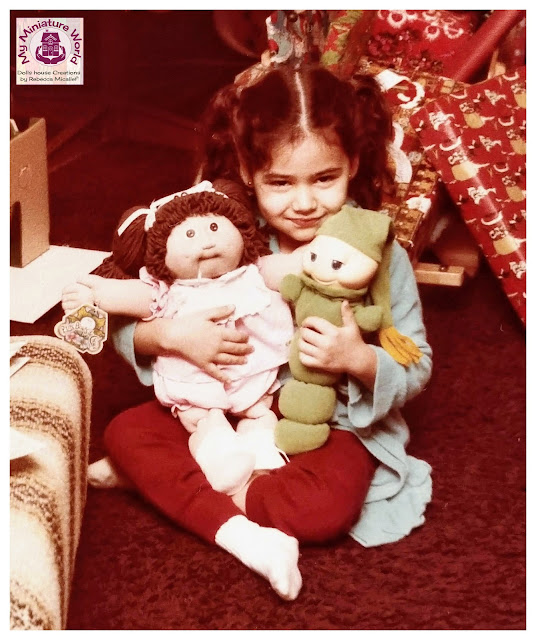
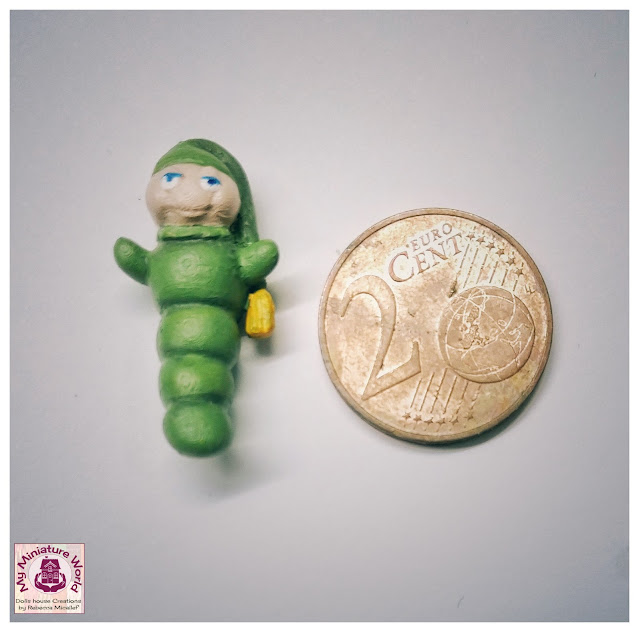
Linda has a  Gloworm  which I also made. The Gloworm is very sentimental to me as I had one myself  as a little girl and still have. 


Little Becky in 1984


These beautiful dolls have been also made by Beverely Senatore. I think they love their new home. 


Hope you like the new additions. Make sure to keep tuned for the next updates on The Minikin. 

Take Care and See You Soon.

Hugs,


Rebecca xxx


Monday, 15 July 2019

The Summer House - on Life & Style TV Show.

Hello Everyone,

How are you all? Hope you had a great weekend. I have so much to share with you. During this weekend I have really started working on my new project Pembroke Grange which is going to have a Regency Style. But before that I wanted to share with you the last 'Life & Style' TV Show on NET TV for this season before the Summer Break. 

For the last TV show, being summer time, I thought it would be nice to share with the audience my Summer House called 'Sea Shells'.


The Summer House goes way back. It was my second dolls house that I built. I was never happy with it at the time, until a few years ago when I decided to give it a good renovation that was well deserved. 

There were so many changes to the house and most of the miniatures were done by me, such as the kitchen unit and the coffee table. The accessories were done with polymerclay and you will find also a few of my own ceramics. There is also a tiny miniature summer house that I made out of cardboard. 


Being the last tv show I wanted to share one of my bigger projects to make it more special.

Charles and I presented the Summer House and I got to explain how the little miniatures and furniture pieces were done.


The first two tv slots I shared the first room which comprises of a kitchen and a living room. 


In the third and last slot I got to share the upper room which is the small bedroom. 


Here is the link to my You Tube Channel where you can find the TV Show with the Summer House.


It was an amazing experience to share my work once every fortnight for the past nine months. It was very special to share an ongoing new project which was The Dickens Book Shop and The Miniaturist that now stand proudly in my Regent Street at My Miniature World. 

Apart from sharing my work, I made new friends on the set that by the end of the season they became more like family. 

From here I want to thank the presenters of 'Life & Style' Charles Saliba and Marbeck Spiteri, The producer Joanne Tanti and the crew behind the scenes. Thank you for welcoming me and making me part of the team. 

In the control room with the producer Joanne Tanti

Charles Saliba, Marbeck Spiteri and I during the last show
So this is all for today. I can't wait to share with you the progress of my new project. Make sure to keep tuned for the next update.

Take Care and See You Soon.

Hugs,


Rebecca xxx


Thursday, 25 August 2016

Sea Shells' Renovation comes to an end!

Hello everyone,

How are things on your side of the world? Hope you are all fine and your week is treating you well. As much as I love Summer and I always wish it to stay at the end of August I always get the same pang I get every year. It is time to start to prepare the kids school stuff. I hate September, I really do! It is just great to have them my babies around.

Before we start I wanted to welcome a new follower and friend Jade Burbank, Welcome!

Sea Shells
Today will be the last post on the renovation of Sea Shells. Yes folks, Sea Shells is complete and I love it.

As most of the inside was complete, it was time to turn for the outside. I still left the color intact as it still looked nice and I love it the way it was. What I did change was the paper on the roof. It had faded away and it had what appeared to be glue stains.

This time I went for roof slates. Very patiently a glued them one by one.


 I am always pleased with the finishing results.


After finishing them and let the glue set, I painted the roof in grey.


I decorated once again the porch. Still used the accessories that I had before but changed slight the position of the pots and the collection of sea shells. 


I left my own hand made name plaque of Sea Shells in the same place. It was my first Name Plaque that I ever made with polymer clay.


Going back to the inside I fixed the curtains once again. I have made a new set of curtains for the balcony which match the bedding of the room and added some lace . I am really pleased how they turned out. 


Jenny the Missy who resides at Sea Shells had a make over too and she was thrilled with the look of her new home.


Finally it was time to turn on the lights of the house to make it complete and I can't believe my eyes how different it looks.


Here are some additional photos of the  house.


Hope you have enjoyed watching the transformation of this little Summer House and I hope you have liked how it turned out.

As I am working on the new property where the Dolls House Collection will move, I won't be working on a new project from scratch. I miss building a brand new kit but as a few months ago I have gotten myself another Vintage Dolls House by the Dolls House Emporium called Rose Cottage, I will start working on this one. So keep tuned for the start on Rose Cottage.

Take Care and hope to see you real soon.

Hugs,

Rebecca xxx


Thursday, 18 August 2016

The New Bedroom in Sea Shells

Hello everyone,

Hope you are enjoying your week and keeping busy. I am slightly under the weather. Got myself a bad cold in the middle of Summer. It is just awful....but I am sure I will survive it. 

Before I started I wanted to welcome a new follower to my Blog. Welcome Magical Miniatures Ashbrook Studios.

So I can say that the bedroom in the Summer House Sea Shells is pretty much done and I like the new style and details.


So this small tiny bed room now has been changed for the third time. What can I say I was never happy with it. 


The first time I had decorated it looks pretty but very Victorian. Even if it was pretty it didn't really match with the style of the Summer House. Too warm in my opinion. 

It didn't last long. After a couple of months very close to a year I changed all the furniture.


The Second time the decor looked more Summery with the pine furniture and I kept it like this for the rest of the years until the last couple of months. 

For some reason I just can't get it right and I know the reason why. The room is too small, Apart from the room being too small. The ceiling doesn't help and as you can see the staircase ends almost in the middle of the flooring. 

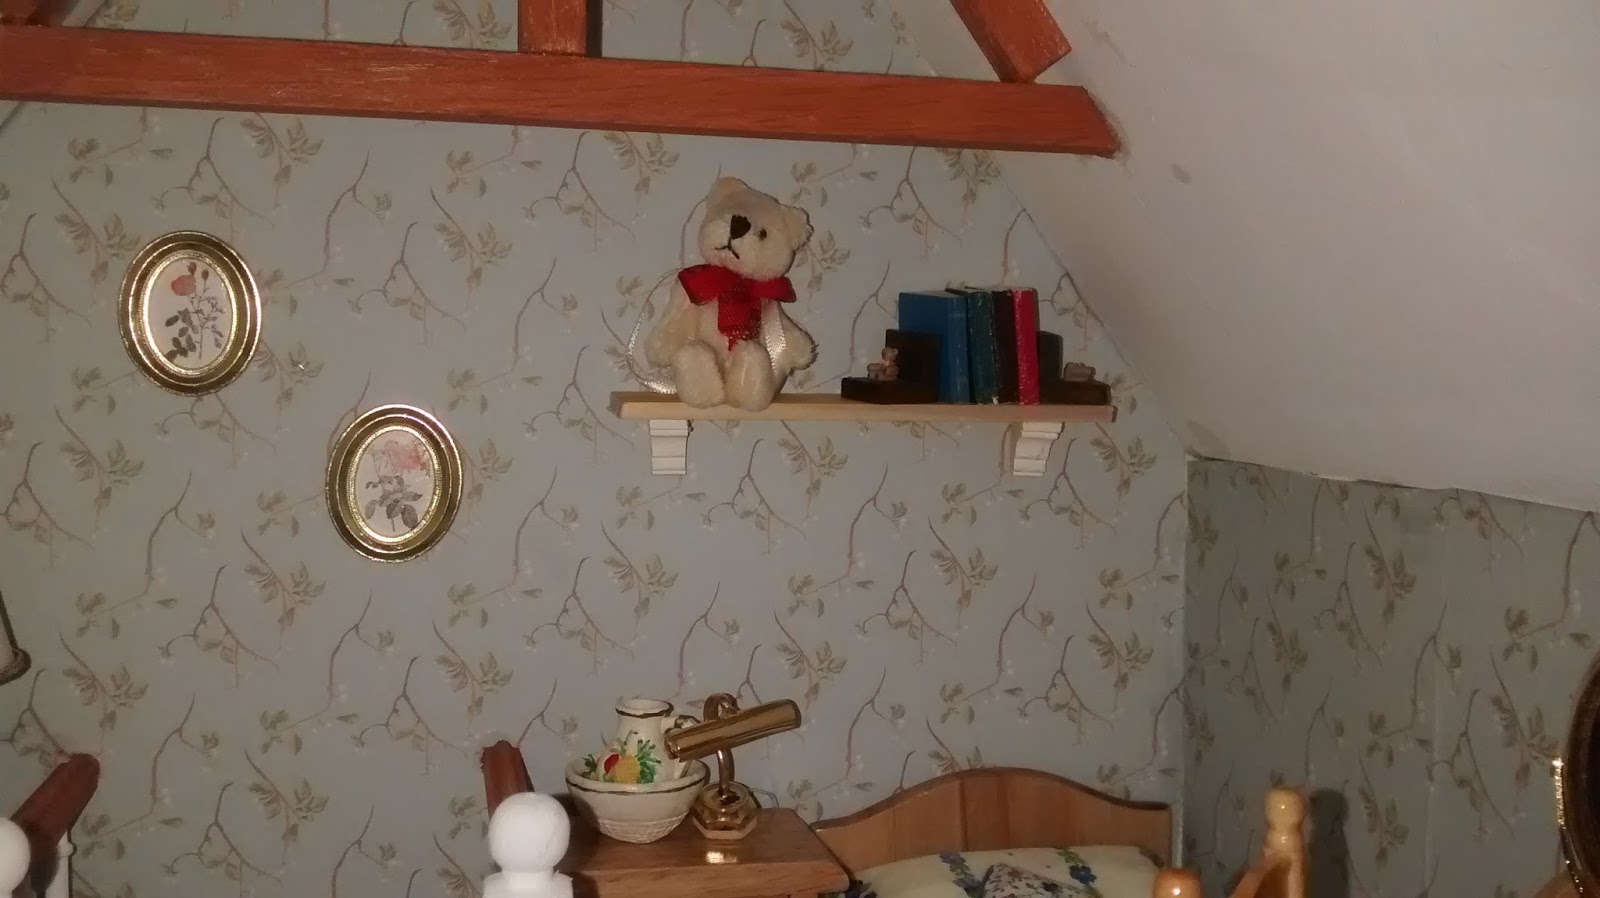
At this point my only solution for this room was to eliminate some of the furniture and add more detail. As posted previously it was a good thing to add some beams to the ceiling. I tried to use most of the pieces that I already had for the room. I changed the bed and went for a small bed. At least it gives the idea that there is a bed.

As I have changed the wall paper I also made the pretty bedding for the bed.

New Bed with the new bedding
On top of the bed I thought of adding a small shelf to keep some books and a teddy.


Still I didn't know what I was going to do with the other pieces of furniture. I was sure that I wanted to keep the small side table. I call it the multi purpose side table. It could have been easily used as a desk and even as a dressing table. 


I still wasn't sure what to do on the other side. I thought of adding a chest of drawers but thinking about it, it would have looked too bulky.  I originally had a chest but it looked to small to put by the side and it didn't have much need in the room. But then I saw the chest differently instead of displaying it closed I thought to myself  What if I had to open it...???? Then ideas started flooding in. The possibility were endless. What if the chest held some old pieces that belonged to the lady during her child hood??? And so I decided to decorate the chest.

I have added some accessories that I had used in the previous settings, I added a few of my own miniature books too.


As there was also the small old sewing machine I added a mannequin that I had stashed and I covered it with some fabric.


Still it needed something grand for the little room. Something special was needed so for some reason I thought of adding a tiny dolls house. I had to be careful what kind of dolls house I wanted to fit in the room. I didn't want it to be big and with that idea came another picture in mind. I thought What about making a miniature copy of the Summer House...? The more I pictured it, the more I liked it. Was I capable of making a 1:144 scale dolls house?????? You bet I was!

To make the small house I used carpenter's cardboard, tooth picks and polymer clay. And this is what I made and I love it!

The Summer House with the small miniature

The Summer House in 1:144 scale

Inside the Summer House
There is a big chance that I will end up decorating the small house with some nice tiny furniture too.

And so this is how the room looks.


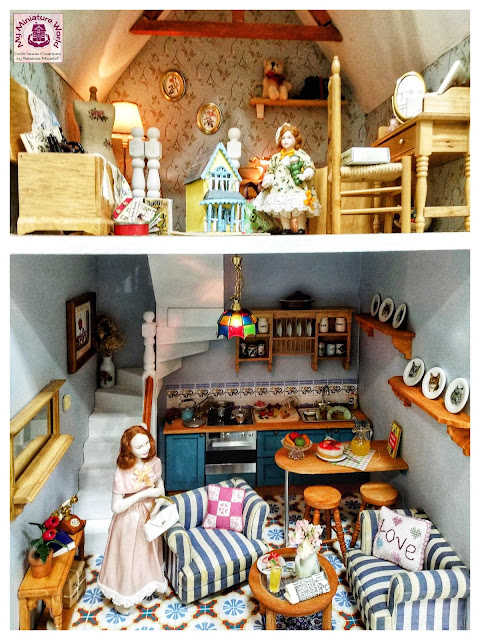
 And here is a picture of the inside of the house with both rooms.


I hope you like what I have done so far. I might add some more details here and there and I still need to finish the outside. So keep tuned for the next update.

Take Care and see you soon.

Hugs,

Rebecca xxx