

Hello everyone,
Hope you are all enjoying your weekend. Here in Malta we have been having some rain showers but nothing out of this world. I have been very busy with Kate's cottage and I am really excited how it is turning out.
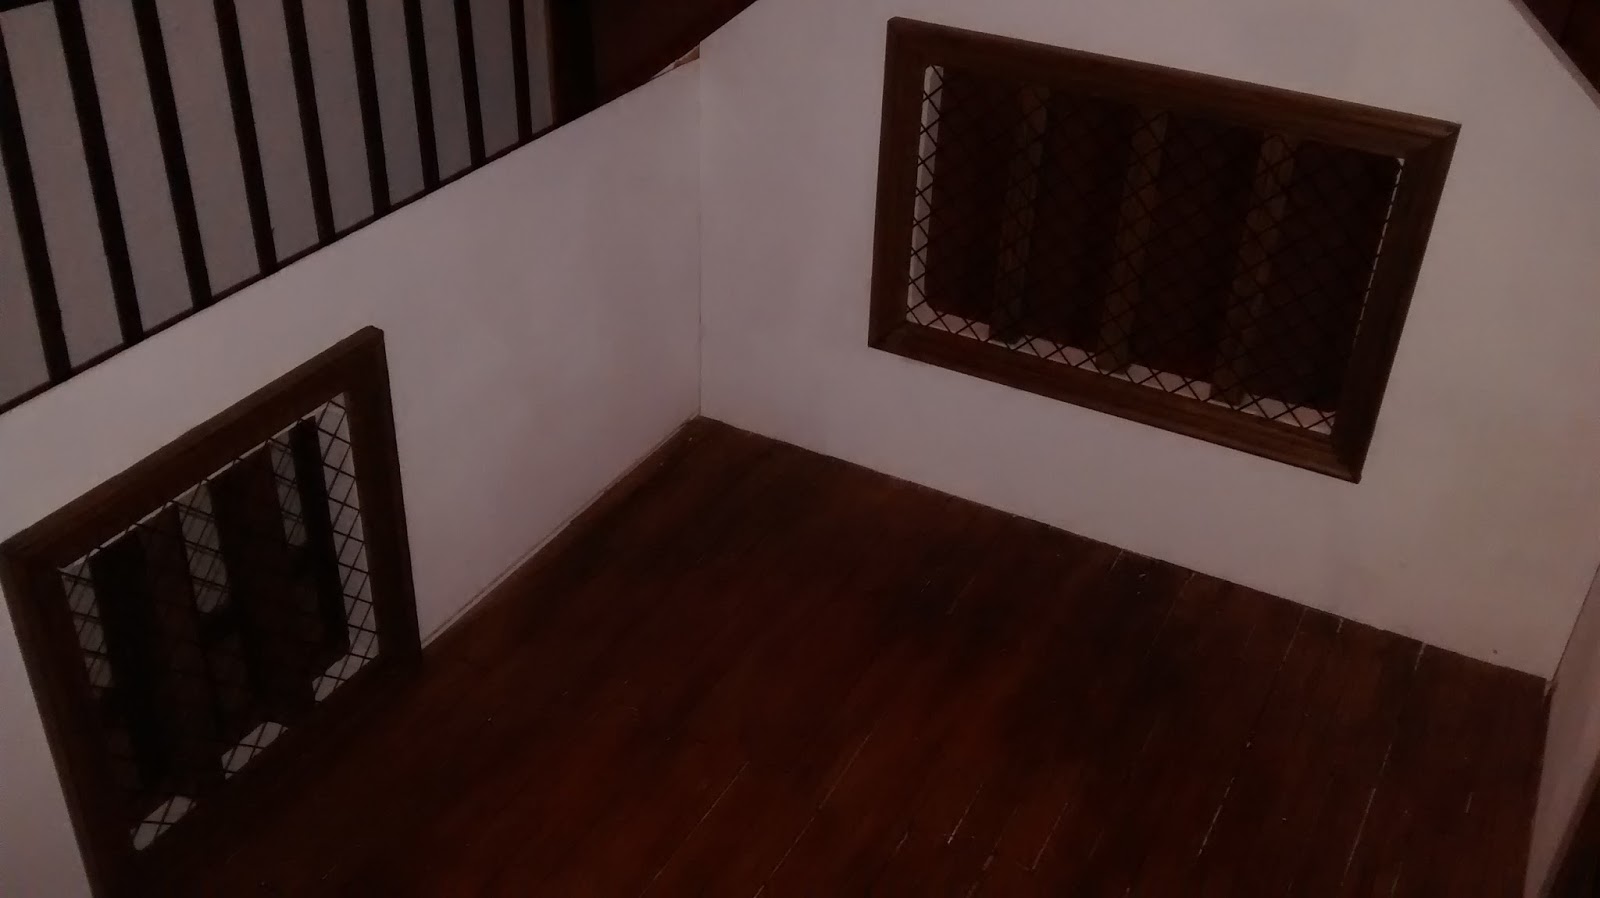
 |
| Kate's cottage top floor |
Give Away Winners
So today we will be announcing our two winners of our free give away. They will both be getting the miniature mug & plate and key ring. We hag quite a lot of followers signing up. I wish that all could have them. So our winners are Julie Daves and Jessica Boulton. Please send me an email with your details so I could post them. Don't give up everyone we will be having a free give away very soon. Thank you all for taking part this encourages me to make these little treats more frequently.
This week we have also reached over 11,000 followers on our Face Book page. Thank you so much.
We come back to Kate's Cottage. I have been really working hard and I am giving my best to make it as realistic as possible. As the ground floor is pretty much done. I have started on the upper floor which will be Catherine's and Luke's bedroom. It is quite a spacious room I started off with the flooring. I went for wood strips. I have cut them and fixed it on the flooring. I have left uneven gaps to make the floor look roughly made being in the Tudor's and not finished in high standards
 |
| Flooring. |
When that was done, using a needle point tool I have made several holes in the edging of the floor boards to give the impression that nails are fitted in.
 |
| Making small holes in floor board edges |
When that was all done I stained the floor and darkened some areas with brown paint just to give it a more weathered look.
 |
| Stained floor |
Before I continued with the beam work I realized that this room didn't have a fire place. So right on top of the fire place below I have made a chimney breast. It just didn't make sens that this room didn't get one, as just above it on the roof there are the chimney pots. It seemed like between the chimney pots and the fire breast below was something missing.
So I got myself a thick piece of balsa wood and made the chimney breast for the bedroom. I have used a stencil to make the edges and added some wood to make the mantel. Using cardboard brick slips I did the back of it, dirtied it. As the flooring was made out of wood I had to make the floor heart out of bricks.
 |
| Chimney breast |

Once the chimney was settled I finished of the inside of the windows. Without having these ready there was no way I could make the inside wall beams.
 |
| Adding the windows |
When that was ready I started working on the wall beams. I have weathered the wood beams with a craft's knife and with a needle point tool. My finger tips were quite numb, Slowly I started adding the beams. First the floor skirting and continued till the tip of the walls.
 |
| Wall beams |

When I was satisfied with the beams I added the wall lights for the room and I also made the fire back for the fire place which you will find the Fireback Tutorial on this link ,
 |
| Polymer Clay fireback |

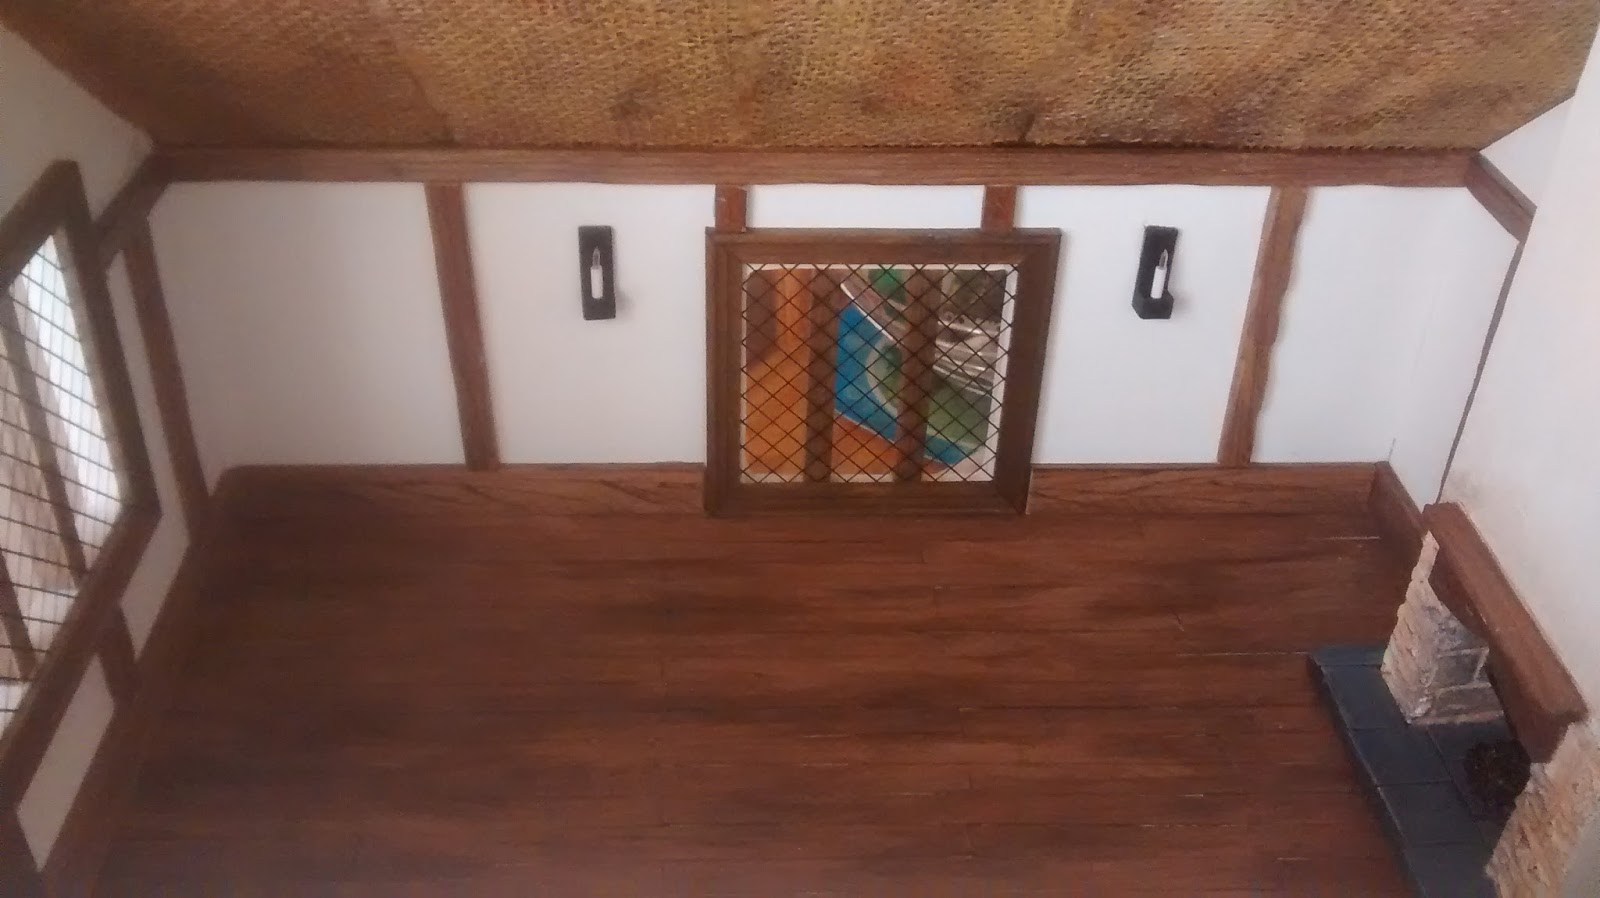
And this is how the room looks like at the moment.


So this is all for today. Please keep tuned for more updates on Kate' Cottage. I hope Catherine and Luke will like it.
Enjoy your weekend and take care.
Hugs,
Rebecca xxx
Pretty amazing. The detail is perfect. I can't wait to see the furniture in it
ReplyDeleteThank you Marie. I am pleased you liked it.
DeleteOh gee weez! I can't believe I got to get your fantastic miniatures! I never won anything before. Thank you for everything and for giving fellow followers the opportunity for your creations.
ReplyDeleteYour cottage is looking so realistic. Great work and just can't wait for the next installments. Just sent you a lenghty email.
love
Julie Daves
Hi Juie, thank you for your email and best wishes. I am just thrilled that you have enjoyed your miniatures. It is always a pleasure to help, xxxx
DeleteHi Rebecca! Amazing work! I love the floor and I think the wall sconces are so cute! Thanks for the fireplace tutorial!
ReplyDeleteHi Lucille thank you for your kind comments. I am so pleased that you liked what I have done so far.
DeleteThis is amazing!! How did you do all this? WOW!!
ReplyDeleteThank you so much Tabitha. I am not sure how I did it all, but I am taking it slowly and piece by piece it is fitting in. xxx
Delete