Wednesday 31 August 2016

The Queen Mary's Dolls House - The Queen's Bedroom Collection

Hello everyone,

Hope you are all well. Just a quick post. In the next few weeks I will be busy preparing the kids for school. It is something that I dread doing but unfortunately it has to be done. I am not only busy with the kids but extremely busy with the move of my dolls house collection. Works have really started so I am hoping for the best. 

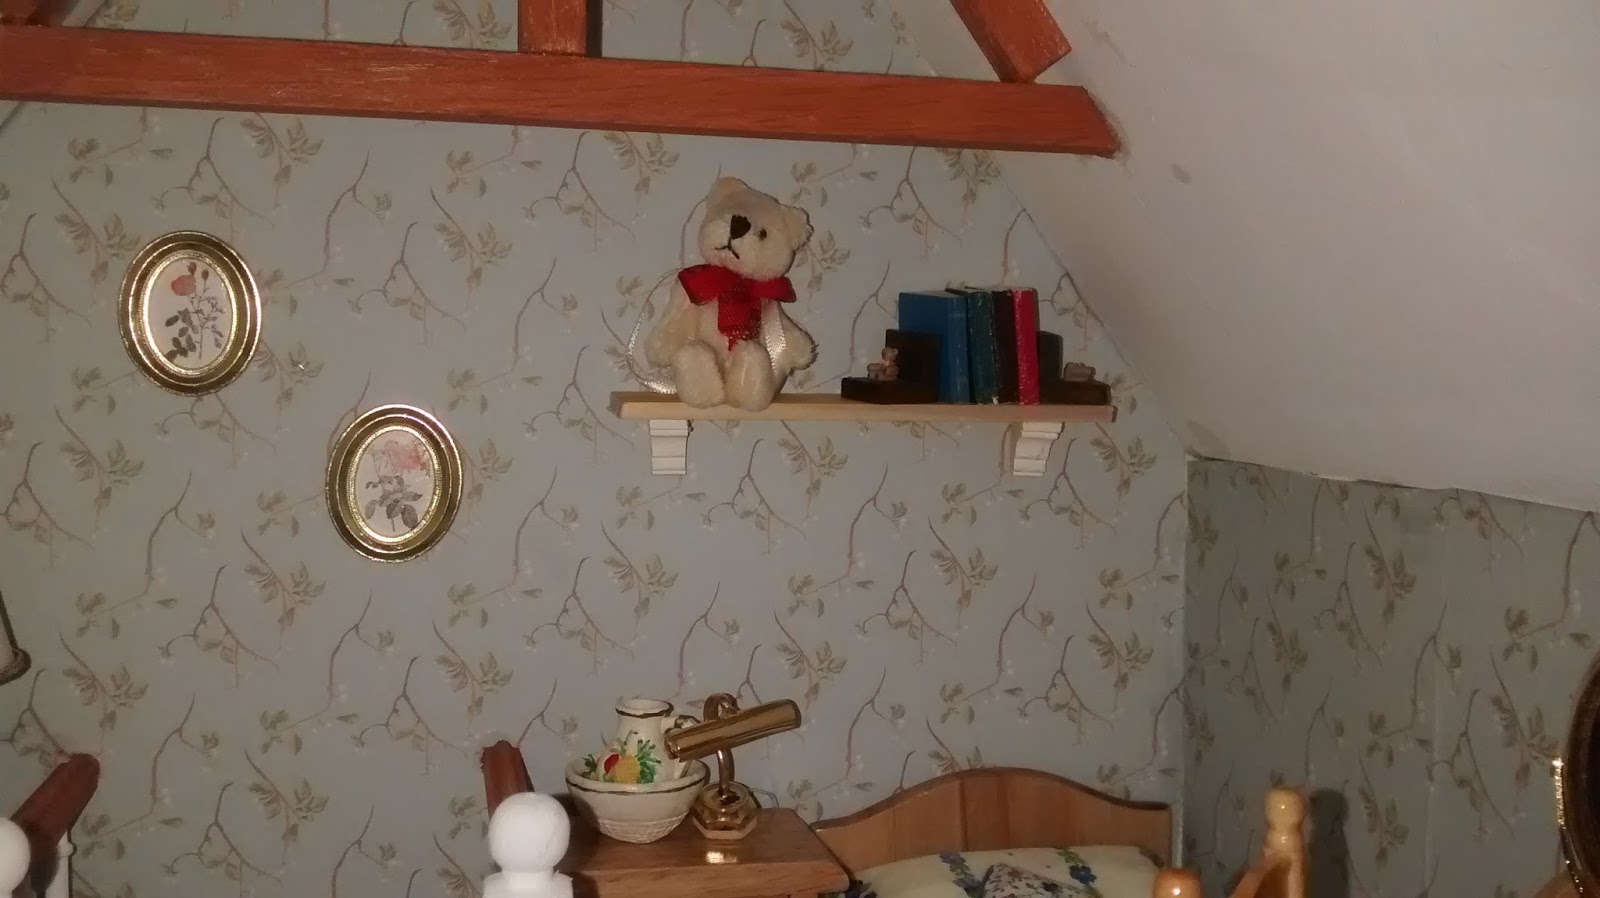
I have started a little work on Rose Cottage at least it will keep me occupied for a couple of weeks. Today I wanted to share with you my complete collection of The Queen Mary's Dolls House Bed room

Queen Mary's Dolls House Bedroom


Queen Mary's Dolls House was built between 1920 and 1924 for Queen Mary wife of King George V. It is breath taking. Everything works. From the water taps to the miniature shotguns. It is over 3 ft tall and it is in 1:12 scale. Today it is displayed at Windsor Castle in England. 


Hopefully one day I will get to see it with my own eyes. 


A few years ago the Dolls House Emporium were given the Royal Permission to make a few replicas from the Queen Mary's Dolls House. Unfortunately not all the sets were done. The first and only set that was made was The Queen's Bed Room.

The Queen's Bed Room by the Dolls House Emporium
I remember myself joining the club were a booklet, a story book and a pin were given. The story book is one of the books which is also found in the Queen Mary's Dolls House.


The full size book that I have
The original miniature book


At first I wasn't sure if I wanted to collect the pieces as they were quite pricy and they were limited. But as the collection came to a halt and unfortunately now all the pieces have been discontinued, I couldn't bring myself not to collect the bedroom pieces.

Piece by Piece, I finally managed to collect all the furniture, accessories and wall paper that the Dolls House Emporium offered.


It took me quite a long time to collect but finally I have got them all and I am really glad that I did collect them.

The pieces are so beautiful and I wouldn't know which one is my favorite. I love the walnut desk. The dressing table and the tallboy. 

Dressing table

Desk

Tallboy
I am still not sure what I am going to do with them. But I got myself a book about the Queen Mary's Dolls House and it was definitely worth getting. 


There is so much to see and learn. Obviously not all the pieces of the bedroom were made and I think I know the reason behind it. For example the wardrobe and the Chinese cabinet. I am pretty sure if these had to be replicated they would cost a fortune. Here are a few pictures of the original bed room.


So my big dilemma is I am not sure if I will be making just a room box and giving some extra attention to detail or add them to a future elaborated project that I have in mind. 

They are really beautiful and I am just not sure what would be best.  Should I put them in a Room Box or use them in a Sophisticated Dolls House Project? Any help will be grateful.

So this is all for today. I will be posting in just a couple of days so keep tuned.

Take Care and See you soon.

Hugs,

Rebecca xxx 


Thursday 25 August 2016

Sea Shells' Renovation comes to an end!

Hello everyone,

How are things on your side of the world? Hope you are all fine and your week is treating you well. As much as I love Summer and I always wish it to stay at the end of August I always get the same pang I get every year. It is time to start to prepare the kids school stuff. I hate September, I really do! It is just great to have them my babies around.

Before we start I wanted to welcome a new follower and friend Jade Burbank, Welcome!

Sea Shells
Today will be the last post on the renovation of Sea Shells. Yes folks, Sea Shells is complete and I love it.

As most of the inside was complete, it was time to turn for the outside. I still left the color intact as it still looked nice and I love it the way it was. What I did change was the paper on the roof. It had faded away and it had what appeared to be glue stains.

This time I went for roof slates. Very patiently a glued them one by one.


 I am always pleased with the finishing results.


After finishing them and let the glue set, I painted the roof in grey.


I decorated once again the porch. Still used the accessories that I had before but changed slight the position of the pots and the collection of sea shells. 


I left my own hand made name plaque of Sea Shells in the same place. It was my first Name Plaque that I ever made with polymer clay.


Going back to the inside I fixed the curtains once again. I have made a new set of curtains for the balcony which match the bedding of the room and added some lace . I am really pleased how they turned out. 


Jenny the Missy who resides at Sea Shells had a make over too and she was thrilled with the look of her new home.


Finally it was time to turn on the lights of the house to make it complete and I can't believe my eyes how different it looks.


Here are some additional photos of the  house.


Hope you have enjoyed watching the transformation of this little Summer House and I hope you have liked how it turned out.

As I am working on the new property where the Dolls House Collection will move, I won't be working on a new project from scratch. I miss building a brand new kit but as a few months ago I have gotten myself another Vintage Dolls House by the Dolls House Emporium called Rose Cottage, I will start working on this one. So keep tuned for the start on Rose Cottage.

Take Care and hope to see you real soon.

Hugs,

Rebecca xxx


Thursday 18 August 2016

The New Bedroom in Sea Shells

Hello everyone,

Hope you are enjoying your week and keeping busy. I am slightly under the weather. Got myself a bad cold in the middle of Summer. It is just awful....but I am sure I will survive it. 

Before I started I wanted to welcome a new follower to my Blog. Welcome Magical Miniatures Ashbrook Studios.

So I can say that the bedroom in the Summer House Sea Shells is pretty much done and I like the new style and details.


So this small tiny bed room now has been changed for the third time. What can I say I was never happy with it. 


The first time I had decorated it looks pretty but very Victorian. Even if it was pretty it didn't really match with the style of the Summer House. Too warm in my opinion. 

It didn't last long. After a couple of months very close to a year I changed all the furniture.


The Second time the decor looked more Summery with the pine furniture and I kept it like this for the rest of the years until the last couple of months. 

For some reason I just can't get it right and I know the reason why. The room is too small, Apart from the room being too small. The ceiling doesn't help and as you can see the staircase ends almost in the middle of the flooring. 

At this point my only solution for this room was to eliminate some of the furniture and add more detail. As posted previously it was a good thing to add some beams to the ceiling. I tried to use most of the pieces that I already had for the room. I changed the bed and went for a small bed. At least it gives the idea that there is a bed.

As I have changed the wall paper I also made the pretty bedding for the bed.

New Bed with the new bedding
On top of the bed I thought of adding a small shelf to keep some books and a teddy.


Still I didn't know what I was going to do with the other pieces of furniture. I was sure that I wanted to keep the small side table. I call it the multi purpose side table. It could have been easily used as a desk and even as a dressing table. 


I still wasn't sure what to do on the other side. I thought of adding a chest of drawers but thinking about it, it would have looked too bulky.  I originally had a chest but it looked to small to put by the side and it didn't have much need in the room. But then I saw the chest differently instead of displaying it closed I thought to myself  What if I had to open it...???? Then ideas started flooding in. The possibility were endless. What if the chest held some old pieces that belonged to the lady during her child hood??? And so I decided to decorate the chest.

I have added some accessories that I had used in the previous settings, I added a few of my own miniature books too.


As there was also the small old sewing machine I added a mannequin that I had stashed and I covered it with some fabric.


Still it needed something grand for the little room. Something special was needed so for some reason I thought of adding a tiny dolls house. I had to be careful what kind of dolls house I wanted to fit in the room. I didn't want it to be big and with that idea came another picture in mind. I thought What about making a miniature copy of the Summer House...? The more I pictured it, the more I liked it. Was I capable of making a 1:144 scale dolls house?????? You bet I was!

To make the small house I used carpenter's cardboard, tooth picks and polymer clay. And this is what I made and I love it!

The Summer House with the small miniature

The Summer House in 1:144 scale

Inside the Summer House
There is a big chance that I will end up decorating the small house with some nice tiny furniture too.

And so this is how the room looks.


 And here is a picture of the inside of the house with both rooms.


I hope you like what I have done so far. I might add some more details here and there and I still need to finish the outside. So keep tuned for the next update.

Take Care and see you soon.

Hugs,

Rebecca xxx