Wednesday 25 September 2019

The Study Room in Pembroke Grange

Hello everyone,

Here we are again in the beginning of Autumn. Hope you are all having a good week. The kids have started their new scholastic year now. I miss the trio being around. The weather is getting cooler too and we did have a few showers.

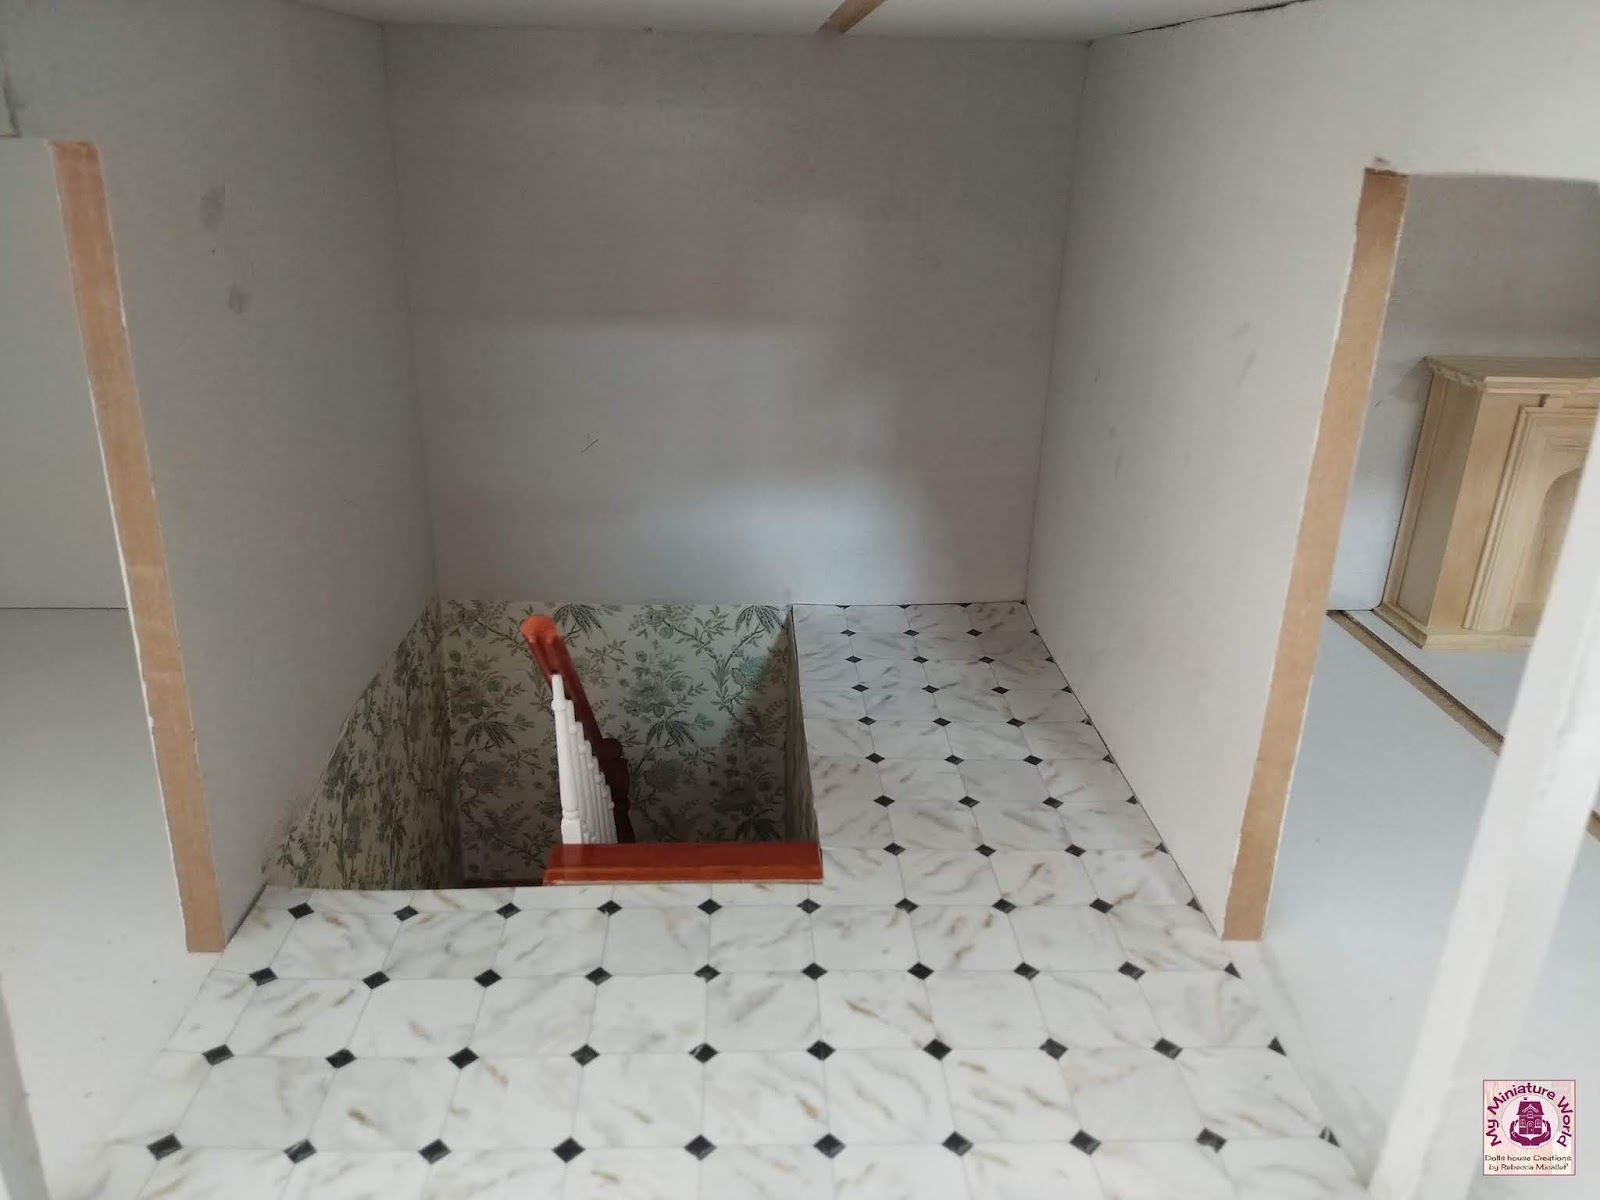
Today I wanted to share with you the start of  the Study room in Pembroke Grange.

The Study room in Pembroke Grange
The room is situated right on top of the drawing room. Not quite a big room but spacious enough to add the details that I needed. 


As I was going to add another false wall to the back to give the house more depth, I started wall papering the room with two different type of papers.


Once the flooring, ceiling and wall paper were done, I started working on the back wall which will include the library and a door way. 


On the right hand side I wanted to add a fire place so it could match with the chimney on the roof.


I had a resin fire place to fit the room but I added a few more details of my own to make it look a bit more rich. 


I added the wall paneling to the walls and I stained them in dark oak to match both the doors.


Finally I added the cornice, another ceiling rose that I made with my 3D printer and the chandelier. 


Like the other rooms, I couldn't help not turning on the lights. Here are a few pictures of the room lit.


Still not sure what furniture to add but when the time comes I am sure it will look very much like a study.  Hope you like what I have done to this room. 

So Pembroke Grange has one room left to decorate which will be the main bedroom. I am looking forward to work on it during this weekend. Make sure to keep tuned for the next update on Pembroke Grange.

Take Care and See You Soon.

Hugs,

Rebecca xxx

Wednesday 18 September 2019

The Drawing Room in Pembroke Grange

Hello everyone,

How are you all? Hope you are having a great week. Today I'm quite under the weather. A summer cold; thanks to the change of weather. As I can't do much, I decided to share with you what I have been up to during the past few days.

With the dining room complete and ready to be decorated with its furniture and accessories, I moved onto the drawing room.

The Drawing Room
Being a small room I didn't want to over crowd it. It had a good size but I couldn't afford to give it the detail that I would have liked.


After fitting in the wooden flooring I took some measurements of the back wall where I wanted to add a false wall so I could have shelves within the wall itself. 


When I was sure of the back wall, I used an old rose color wall paper to cover the walls.


Between the wall shelves I wanted to have a small fire place which I printed myself  using my 3D printer.


Once the ceiling and wall papers were done I moved on to the wall paneling and the cornice.


I  also printed another ceiling rose and painted it to match the room. Another chandelier was fixed to the ceiling, just like the one in the dining room.


I couldn't help not lighting up the room. To me it looks great!


And with that the room was complete. All ready to be furnished and decorated.  It will look totally different once the walls will have their framed painting, the room with its furniture and accessories.

I am very happy with the outcome of all the rooms done so far. Now I will be moving to the study. I can't wait to get my hands on it. 

Hope you like what I have done so far. Make sure to keep tuned for the next update.

Take Care and See You Soon.

Hugs,


Rebecca xxx

Tuesday 10 September 2019

The Dining Area for Pembroke Grange

Hello Everyone,

Here we are once again at the beginning of a new week! Hope you all had a good weekend. I definitely did as I continued to work on my Pembroke Grange Dolls House. I started working on the dining area. It was one of those challenging moments that I didn't rest before I saw it through. I still can't believe that I actually made it. Quite proud of myself too!

The Dining Room
The room is quite spacious so I could add a few additions of my own.  This room is the one next to the conservatory on the ground floor.


 To give the house more depth I added another wall with a false door at the back, which means that on each wall of the room there is actually a door. This was going to be slightly tricky as I wanted to make a mural around the room. 


It was not easy to find the scene that I wanted and even more difficult to find a mural that covered the three walls. I found  the mural with  a periodic garden scene and it was exactly what I was looking for. I downsized the paintings and printed them.


I pasted the mural in place which fitted nicely. I added the back door and an embossed foam decorative ceiling. 


Finally I mixed my own color for the borders and trimings to match with the mural color pallet. 


For the ceiling I made another ceiling rose that I printed with my 3D Printer and I painted it to bring out more the details.


Once the chandelier with the ceiling rose were in place, I turned on the lights to see how the room looked. I have to say I love it! Here are a few more pictures of the room.


I hope you like the room. I can't wait to start decorating it with furniture pieces and accessories. I think in the long run this will be my favorite room.

Looking forward to continue working on the other rooms. Make sure to keep tuned for the next update.

Take Care and See You Soon.

Hugs,

Rebecca xxx


Friday 6 September 2019

The Hallways in Pembroke Grange - Part 2

Hello everyone,

Here I am once again and just liked I promised, I with be updating you will the second part of the Hallways in Pembroke Grange.

The Hallway at First floor
Just like the ground floor, I wanted to do something a bit different by giving the property more depth so it will look larger. 

Once the ground floor was done I moved to the first floor.


I used the same tiled glossy board paper and the same leaf designed wall paper.  The staircase was already in place and all I needed was to add the railing and posts around the well of the staircase.


Keeping in mind the design of the ground floor, I have added an extra room at the back leading  to nowhere but giving the idea and illusion that there is another room.


Once the walls were built I added the doors to see if I got the picture right that I had in mind. The door set on the left will be leading to the main bedroom. The door on the right will be leading to the study and the door at the back will lead to any other room that you can imagine. For me it gives me the impression that it is another bedroom.


I was happy how it looked so far so I added the posts, spindles and the railing around the staircase well. We don't want our dear Jane Austen to fall down in the stair case ;-)

I have also added the skirting around the room, the embossed ceiling paper and the cornice.


Finally I got to add the lights. I have made my first ceiling rose with my 3D printer and add the lantern. In the staircase I added also wall lights to add that extra glow.

3D printing ceiling rose 


I was so happy to see the hallways all done and ready.


I was so curious to see it lit up. I totally loved it! I like the warmth it gives.


And here is a picture of the complete hallways in Pembroke Grange.


I will still be adding a few furniture pieces and a few accessories. But I have to say I am  very happy with the out come.

Hope you have liked what I have done so far. I can't wait to continue working this weekend on the other rooms. Make sure to keep tuned for the next update on this project. Wishing you all a happy weekend.

Take Care and See you soon.

Hugs,


Rebecca xxx