Saturday, 19 December 2015

Finishing the outside of Kate's Cottage

Hello Everyone,

How are you? All set for Christmas? Time does fly. I can't believe that in less than a week Christmas will be over. I just hate it when it's over. You spend so much time preparing for the moment and in just a blink of an eye it's gone. I guess we have to wait for another year. All gifts are ready and set and packed nicely underneath the tree.

Firstly I wanted to welcome 6 new followers to my blog. Cheryl Rankin, Monica Berry, Leilani, Maryanne Laursen, Rose Fletcher and Monika Ehrenschneider. Welcome to all! 

The Winner of our miniature Christmas Give Away is Rose Fletcher. Congratulations Rose! Please contact me with your details so I can send it off to you. I wanted to thank everyone who participated. Don't give up we will be having more give aways in the near future.  

I hope you are enjoying our Advent Calendar 2015. Our advent Calendar will be on till the end of this year.

Today I will be sharing with you the completion of the outside build on Kate's Cottage. There was so much to do from beam work to brick tiling but it was definitely worth it. 

Kate's Cottage
So before starting with the beam work. I had to complete the lighting. As the house opens from both the side and the front and also  has a spiral staircase my best options for lighting was copper wire. It is much neater and like this I could still decorate the house all around.

Before adding the copper tape. I had to study the house and what lights I had in mind. When I was sure of what lights to insert then I had to see what kind of beam work needed to be added to the facade all around. 

Copper tape for lighting
So there was quite a lot of thinking and measuring. With the help of my husband the copper tape was made both at the back of the house and also at the side which leads to a corner where a small plug will be fitted. 


The Copper tape was covered with masking tape and then I painted the walls. The copper tape was hidden behind the facade beam work.

Beam Work covering the lighting system


Every piece of wood was carved to make it look weathered and I stained them to look a bit more real. I had quite a lot of work to do there.

Beam Work on facades


To the door I also added some hardware to add a little more detail. From inside the door has a working bolt and on the outside you see the Tudor style door's hardware.

The door outside

The door inside
Then It was time to start bricking off the lower part of the walls. First I painted the walls in a dark shade of brown and using cardboard brick slips I started adding them to the walls.


And with that the outside of Kate's Cottage is complete.

Kate's Cottage
So this is all for today. I hope you like what I have done so far. 

Next time I post which will be just before Christmas, I will be sharing with you this year's Christmas Project, so make sure to tune in and don't miss it.

Make sure you folks will be good and have written a letter to Santa.

My letter to Santa never changes. I don't have to concentrate hard because every year I want the same thing. Don't you all agree???


See you all in a couple of days. 

Take Care and Be Safe.

Hugs,

Rebecca xxx


Sunday, 6 December 2015

Once Again Santa's Work Shop makes it in print!

Hello everyone, 

 I hope you are all enjoying your Sunday. I am sure that most of you are all set for Christmas and have decorated your home for the festive season. I was quite busy myself and I do enjoy seeing the kids getting excited while decorating. They remind so much of when I was a child myself. The weather is still nice even if it is getting slightly colder. 

After the great success we had last year with the Advent Calendar and as promised we have it once again. This is to thank you friends and followers. You can all click on the Advent Calendar 2015 and open the doors daily to find a miniature tutorial.

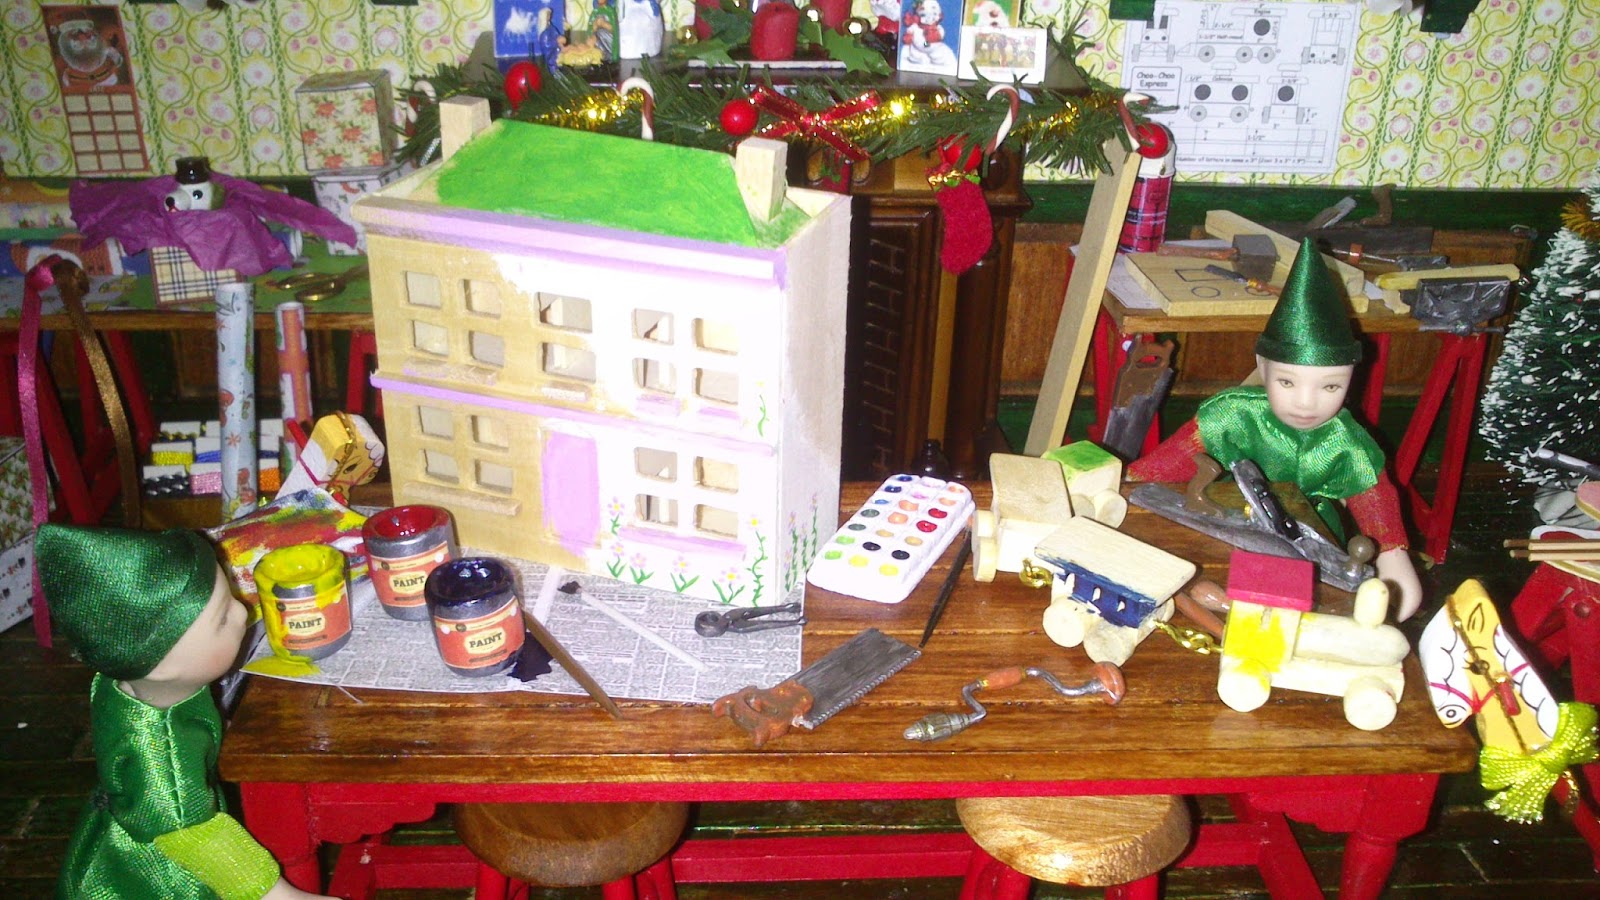
 It's been three years since I built Santa's Work Shop and it looks gorgeous as ever. My little Leah was still a new born when I built Santa's Work Shop and it brings back so many sweet memories. Once again Santa's Work Shop makes it in print. This time on American Miniaturists on December's issue with a five page article.

American Miniaturist Magazine Cover
I think it is still one of my favorite projects which it is not surprising. This year was the first year that my little Leah (being a 3 year old) could appreciate it like her siblings and she just enjoys looking at it all lit and asking questions about it.

Santa's Work Shop

 It felt so strange seeing my little one asking about it when practically I built it when she was just a tiny tot and I wanted it to  be done before Christmas to mark her 1st Christmas. 

The 5 page Article for San'ta's Work Shop
You can all read the article The Magic of Christmas on this link.

I guess deep down I will always believe in St. Nick. Here are some pictures of it.


Every year I enjoy adding something small to the Work shop even if there isn't much space left. I have changed the little table for the Nativity Scene and added some of my own Christmas miniature books on the shelf. One of the miniature book is my latest called The Twelve Days of Christmas.


The Twelve Days of Christmas

 I also added Santa's Magical Toy Sack which is lying near the wrapping up station.

The Magical Toy Sack
I have also made a miniature Nut Cracker out of polymer clay. It was my first trial and I think it was just fit for the Work Shop.


The Nut Cracker on the mantel piece.
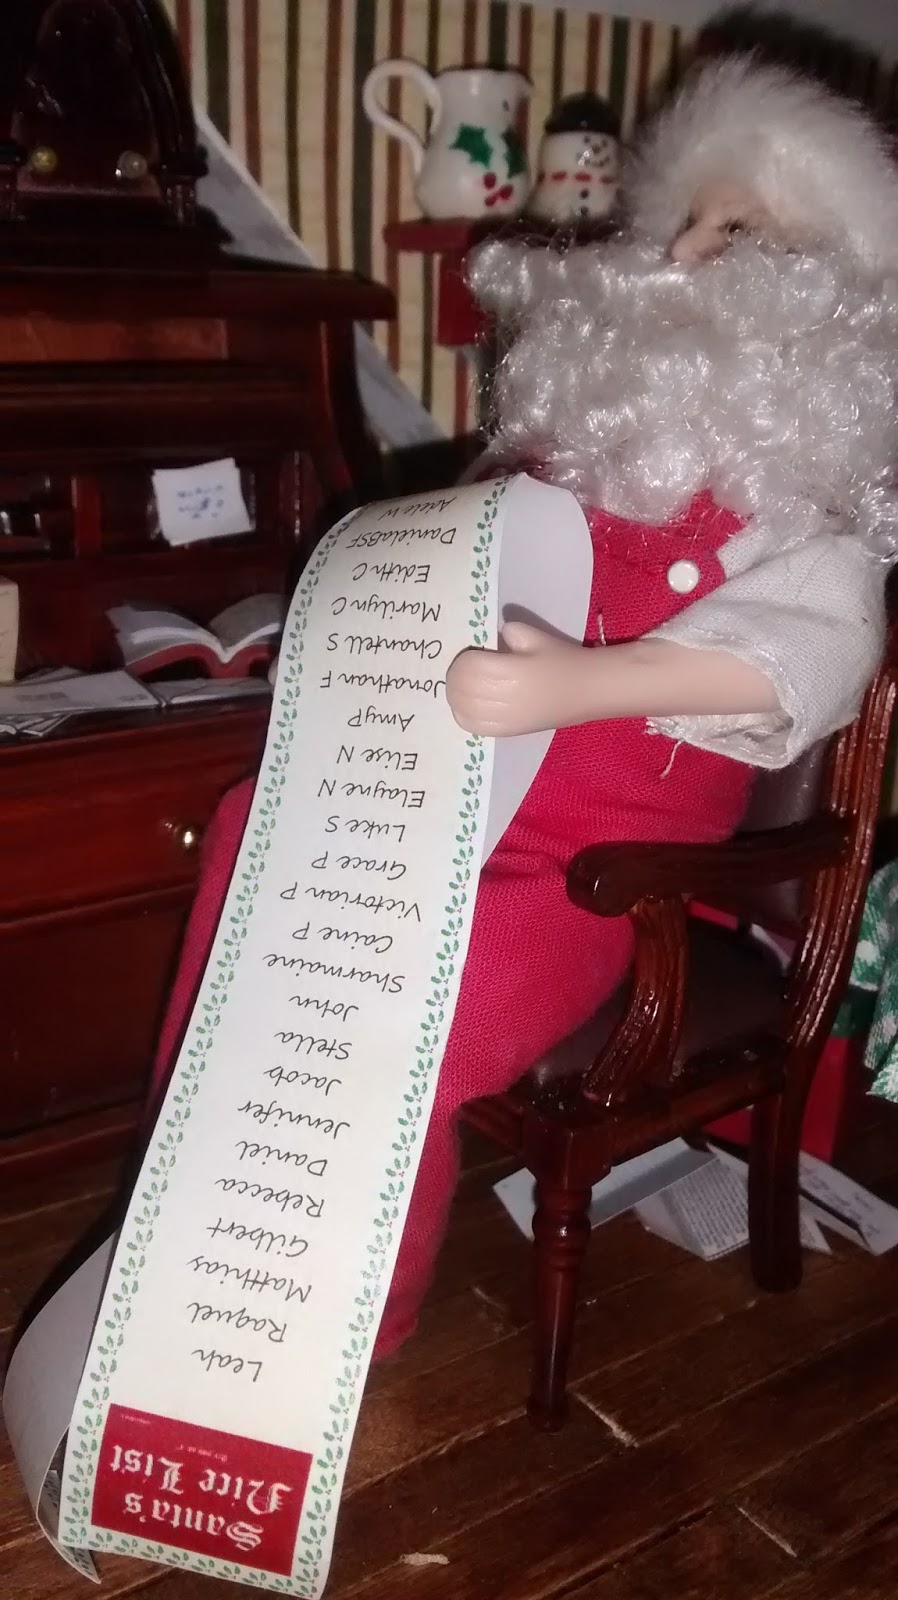
New Santa's Nice List
It was about time that Santa's Nice list needed to be updated and changed. A few grown not believe in Santa and others went down big time on the Naughty list. 

 So once again we have a new, longer and much improved in design Nice List. I wanted to thank  my friends and members of My Miniature World Group on Face book for taking part. I am pleased to say the the group has reached over 550 members.


Santa is very pleased with his new Nice List.


To show my appreciation to you friends, followers and fans it's time for a Christmas Free Give Away.

Free Give Away Santa's Snack

All you have to do is:

Be a follower of our blog.
Comment on this blog post so I know who wants to take a chance to have Santa's miniature Snack .

Closing date will be 16th December 2015 and the winner will be announced shortly afterwards.

So Don't miss your chance.


This is all for today. We will be posting an update on Kate's Cottage on our next post so please keep tuned for more.

Take Care and see you soon.

Hugs,

Rebecca xxx


Saturday, 28 November 2015

The Chimney and finishing of the roof for Kate's Cottage

Hello my dear friends,

So once again November came to an end. Hope you are all enjoying your weekend. Christmas is round the corner and I am looking forward to it like always. Well the Christmas tree is up and decorated with all the decorations around the house. The kids always love helping out. 

Finishing the roof and Chimney.
Coming back to our project Kate's Cottage, I think the roof was one of the parts that I really had to think hard to get it right and exactly how I wanted it. Apart from the roof there was even the chimney to think about it.

Real Tudor Chimneys 
I searched and searched for Tudor Chimneys and blimey I never seen so much sophisticated bricked chimneys in my life.  Here in Malta we don't have them and we only get the modern ones but these are just beautiful. I tried to look for some history about them and it seems that the more decorative chimneys belonged to the most wealthy families. Very obvious our Kate is not one of the most wealthy but we can't say that she is one of the poorest either. As she has lands of her own with crops, has cattle and a roof on her head ,for that period I can say she had much more than one would wish for.

Bare Chimneys
With the kit I had these pair of chimneys and I just didn't know what I was going to do with them. Personally they didn't talk to me at all. So I decided to add a little bit more than necessary. 
Covering the center part
I just didn't like the clean hexagon shape of it. So first I started by using sack cloth to cover the middle part and the top part (the pots) of the chimneys. At least like this I lost the sharp edges and like this it would give me some nice texture.

Using string for spirals
When the glue dried up using thick string (the type that you use for parcels), I started piece by piece spiraling the string around the chimney.
Completed the decor
After I have finished spiraling the string around both chimneys, I left them out to dry from the glue. They were quite moist with glue so once they were dried they became hard as rock.

Under coat of paint
As the chimney had a mixture of bare wood, cloth and string it was important to give it a good undercoat base. I was still not satisfied with the bare wood of the Chimney. It looked too clean cut so with a tissue paper, using the paper mache method I covered the bottom part and the crown of the chimney. I went for a dark brown which would also be considered as a mortar. Every inch had to be covered even the tiniest area.

Giving the second coat of paint.
When the dark paint was fully dried, mixing color paints, I achieved a terracotta color and started painting the chimney section, section. Before letting the paint dry, using a tooth pick I tried to bring out the brick work pattern.

Dirtying the chimneys

Once the terracotta paint dried up it was time to dirty the chimneys. I can't imagine having a clean chimney. So using black chalk and with a damp brush I dried brushed the chimneys to give it a good effect of suet. 

The Masonry
The last bit was painting the masonry in the same dark brown and then I bricked it up with the versi slip bricks.

Complete chimney
As soon as I finished bricking the masonry I dirtied it with the same method as the chimneys. Then I stuck the chimneys to it and I was thrilled with the end results. I just couldn't imagine that it would look so good.

Chimney on top of the roof.
Once the chimney was done then I could finish of the last bit which was the trimming of the roof. Just like the roof was covered I used fabric. The same fabric was glued all around the trim.

Using fabric for trimming
After the glue dried off and the fabric was solid to the trim, I brushed down both the sides according to their sides where you could see the parting in the middle of the wool. I have cut the wool very short and turned the edges according to the shape of the trim. Once that was done, using satin acrylic varnish spray, I covered it and with a tooth brush I just brushed it down so the fabric will be soaked well with the spray. As soon as it was dried the fabric was solid but you can tell that the effect was just perfect.

And here is the finished roof with the chimneys.

Completed roof with Chimenys


I hope you have found this useful. I never imagined that they would come out like this and some how they suited the little cottage perfectly.

I hope you have liked what I have done so far. So this is all for today. Keep tuned for more updates on Kate's Cottage and many more.

I just wanted to let you know that we will be having the Advent Calendar like last year where you might find some useful tutorials.

Wishing you all a nice weekend and see you all real soon.

Hugs.

Rebecca xxx