

Hello everyone,
Hope you are all well and you had a great weekend! I had another progressive weekend on my new Project Pembroke Grange.
I have been working on the roof of the dolls house. It took me a few days to complete but the end results are worth the time taken.
 |
| Pembroke Grange |
The roof of Pembroke Grange is basically built separately from the whole building. I started by dry building it first, to have a good idea how it would look. On its own it is quite heavy and big.

Once it was glued, I gave it an undercoat of grey paint and painted the rim around it in cream. I also fixed the chimney stacks in place.

Then I started tiling the roof slates. I like to use the wooden ones. I find them easy to cut and paint.

Tiling the roof was quite challenging. It took me a few days to finish off.

Once the tiling was done from four sides, I tiled the edges. These were cut and made by me using cardboard so I could bend them into an angel.


In all it took almost 1, 500 roof slates. I think this is the largest roof I ever made to date.
A few days later I started painting the roof. I was curious to see how it would turn out once it was painted. I painted it in a dark grey color and also added the chimney pots to match.


I could already see a huge difference once it was painted in one color but then I started weathering it so it will look a bit more realistic like a real roof.


I am very happy with the end result. I must say it is the best roof I made so far.
Here are some pictures of the complete roof in place.


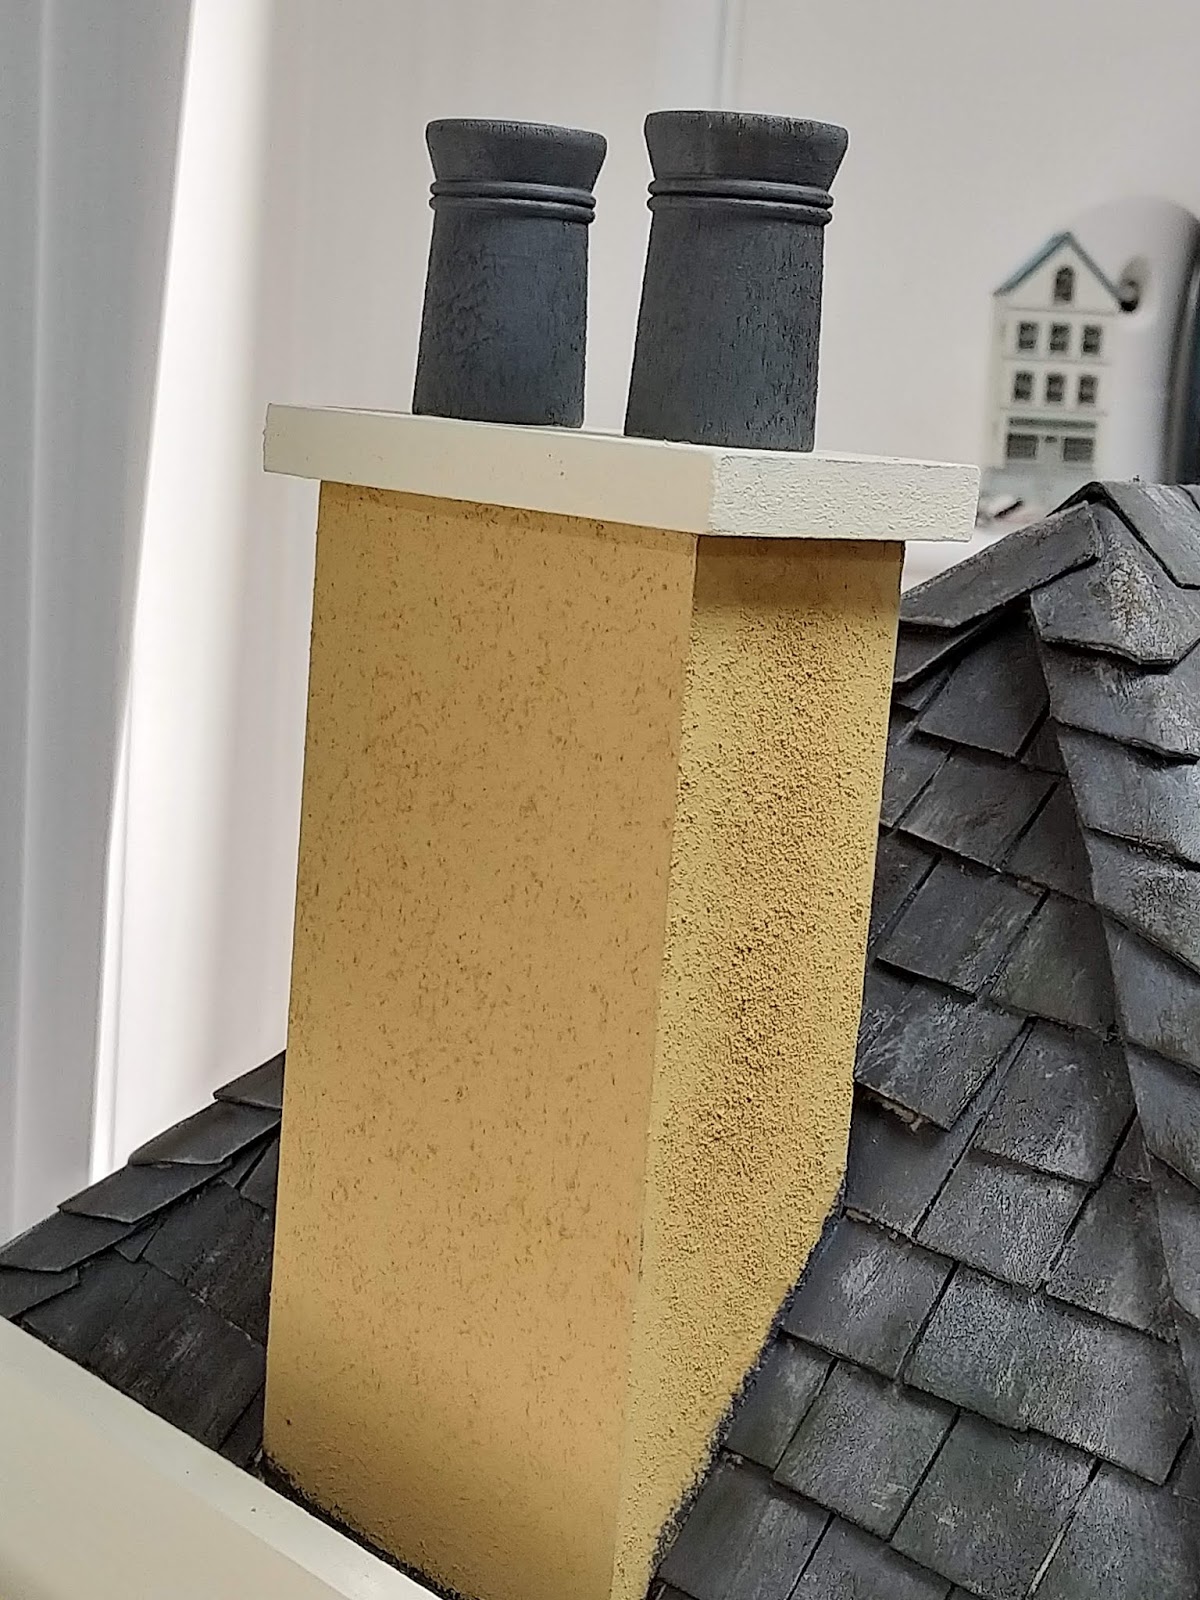
There will still be some more weathering around the chimney stakes, but that will be done once I start working on the building outside.
I hope you like what I have done so far. I can't wait to work on the inside of the house. Make sure to keep tuned for the next update on Pembroke Grange.
Take Care and See You Soon.
Hugs,
Rebecca xxx
It looks wonderful! Like a real slate roof
ReplyDeleteThank you so much Sheila xxx
DeleteSe ve genial el tejado!!!
ReplyDeleteBesos.
Thank you so much Pilar xxx
DeleteEs un trabajo fantástico.
ReplyDeleteUna pregunta, ¿Dónde has comprado las tejas de madera? necesito restaurar una casita con ese tipo de teja.
Gracias.
Un saludo
Thank you so much Marian for your kind words. The wooden slates I got them from the Dolls House Emporium site.
Deletethank you Rebeca
DeleteAmazing! You amaze ME!!! You amaze me with every turn. The whole structure, the paint job and the detail is truly amazing! You are an inspiring artist, one of the youngest and the most beautiful one that I came across.
ReplyDeleteThank you so much Juan for your compliments.
DeleteWonderful! I love the different hues and shades, like no two tiles are the same! A treat for a weathering freak like me! :)
ReplyDeleteThank you so much José. I am so glad that you liked it. Obviously I wouldn't have done it without your guidance.
DeleteI am so interested in everything here. I am learning all the time.
ReplyDelete